What else is there to say...
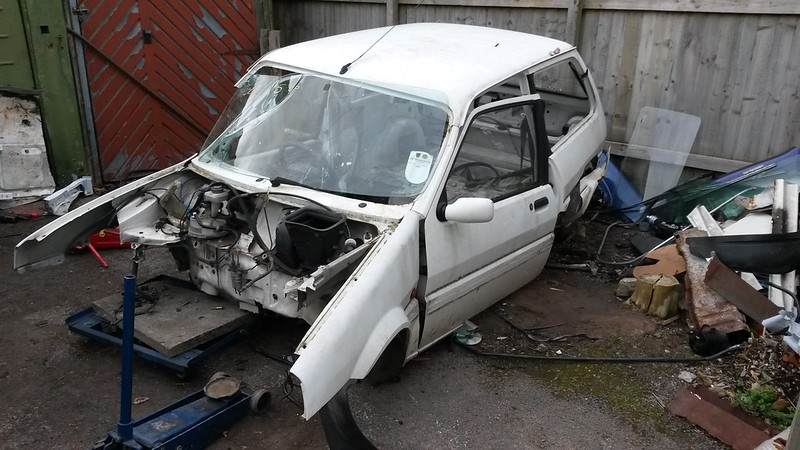
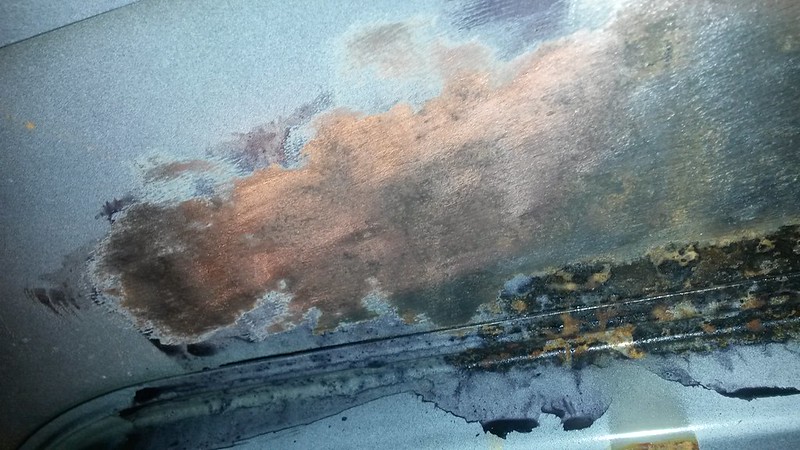
ITS PROPER FUCKED. Rust has really taken hold and I've taken this mammoth task on to simply say:
Gone are the days of plentiful Tros, Gone are the days of un-rusty Tros
Today I usher in a new age of restoration, an age where welders tire of endless shifts.
no longer do I wish to follow infidels cursing "its not worth it"
No longer can it be told a rusty metro, is a dead one.
They have seen so many decades now its time to stand!
Sons of metropower, of Metro owners club! My brothers!
I see in your eyes the same doubt that would take the motivation from me!
A day may come when the strength of steel fails, Where we Forsake our tools and break all bonds of ownership.
BUT IT IS NOT THIS DAY!
An hour of hopelesslness and shattered hands
when the age of metro comes crashing down!
BUT IT IS NOT THIS DAY!!!
THIS DAY WE WELD!!!!!!
I bid you stand, Men of the METRO!
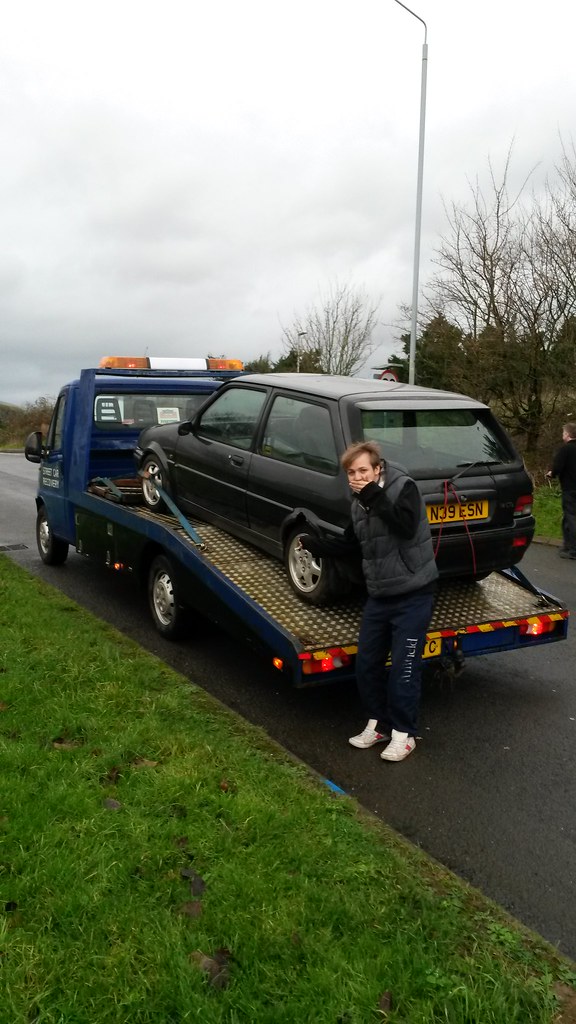
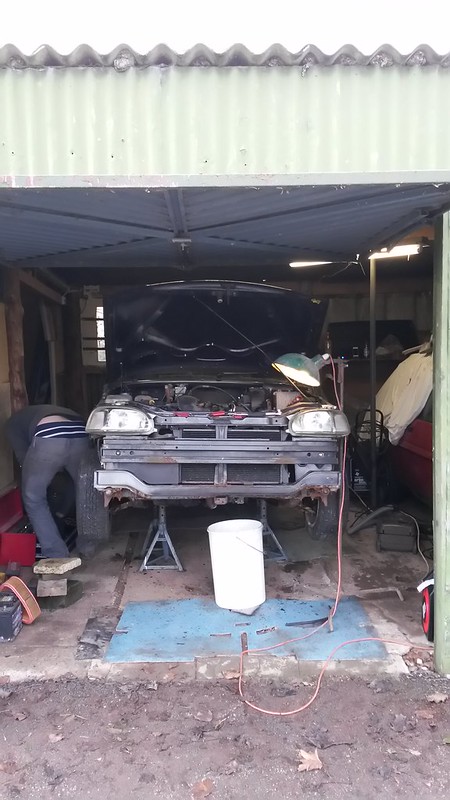
Untitled by MetroMorey, on Flickr
Untitled by MetroMorey, on Flickr
Untitled by MetroMorey, on Flickr
Untitled by MetroMorey, on Flickr
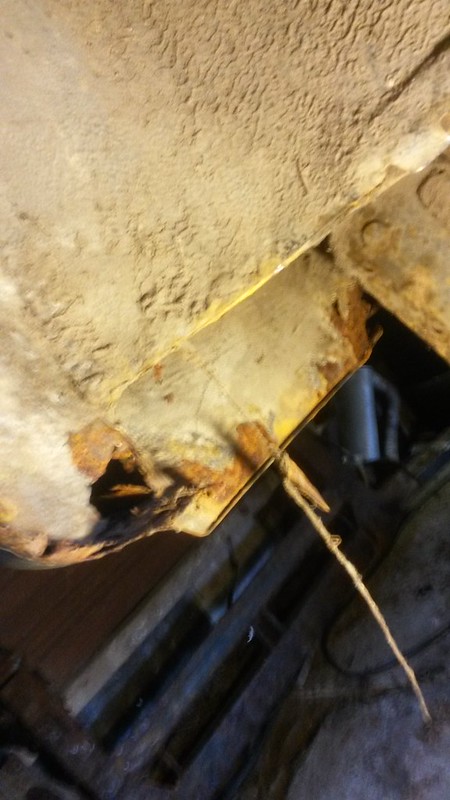
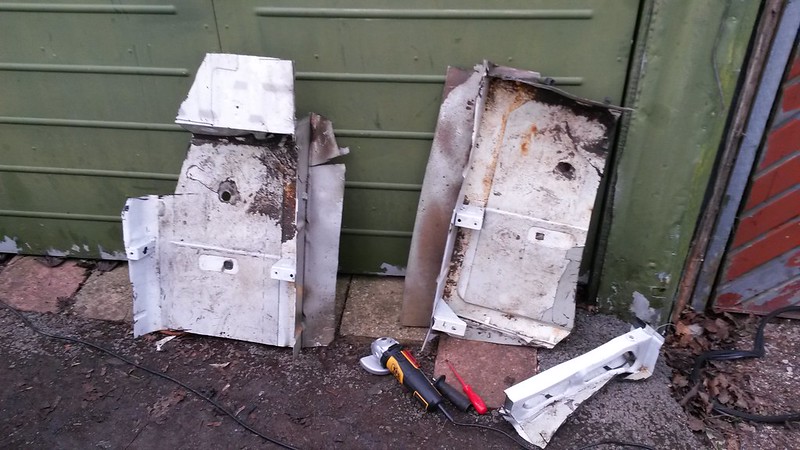
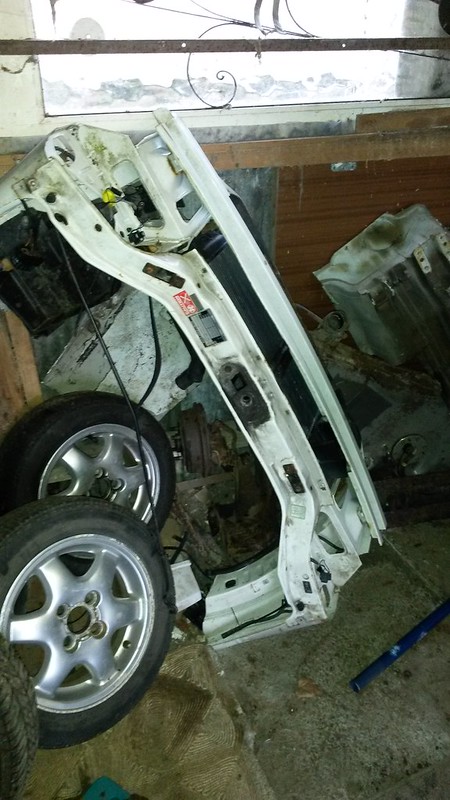
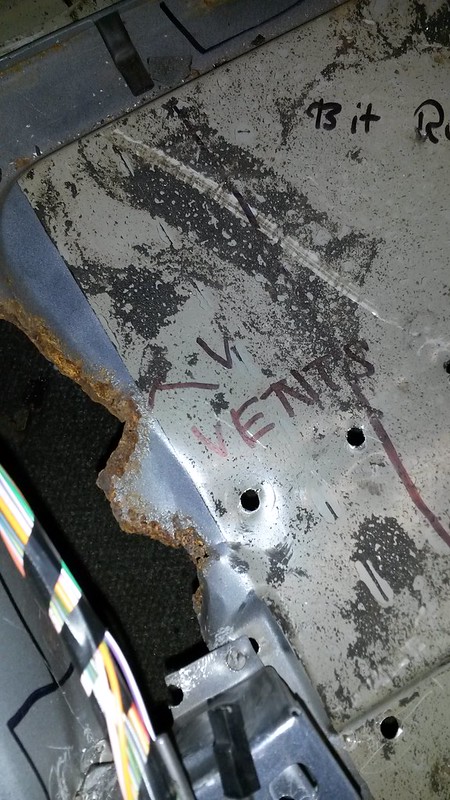
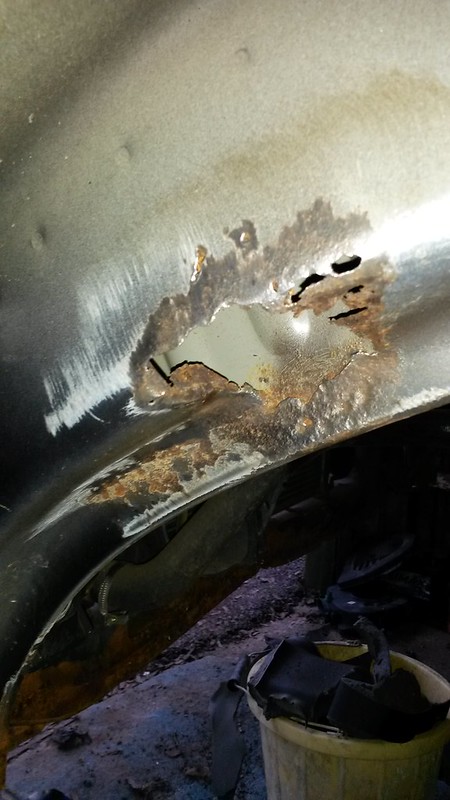
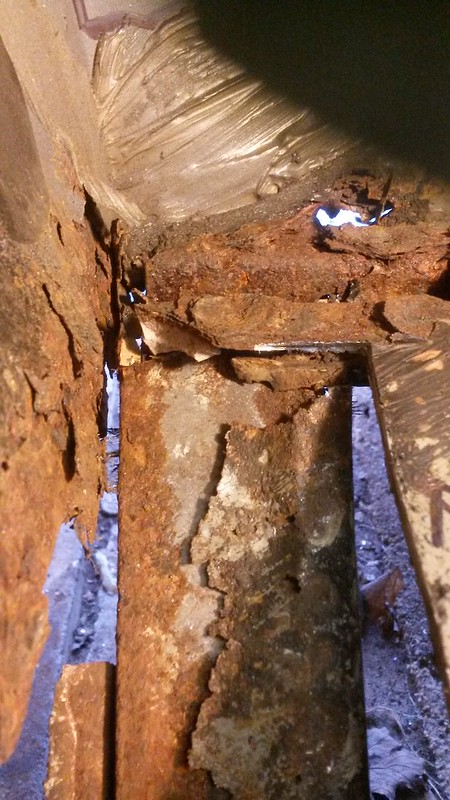
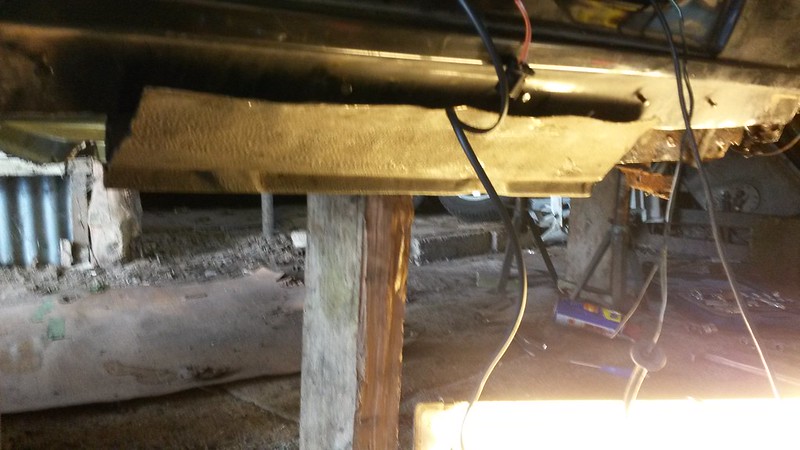
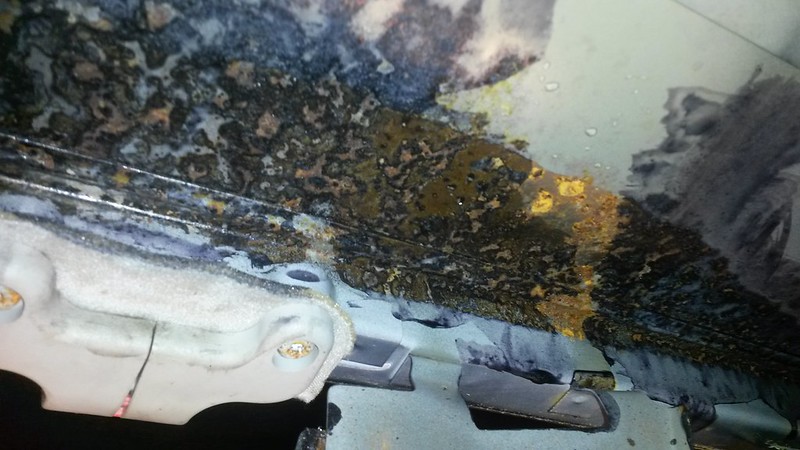
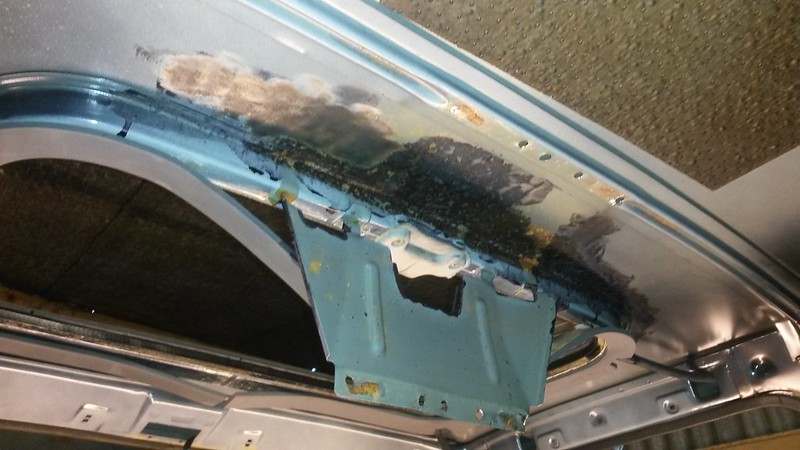
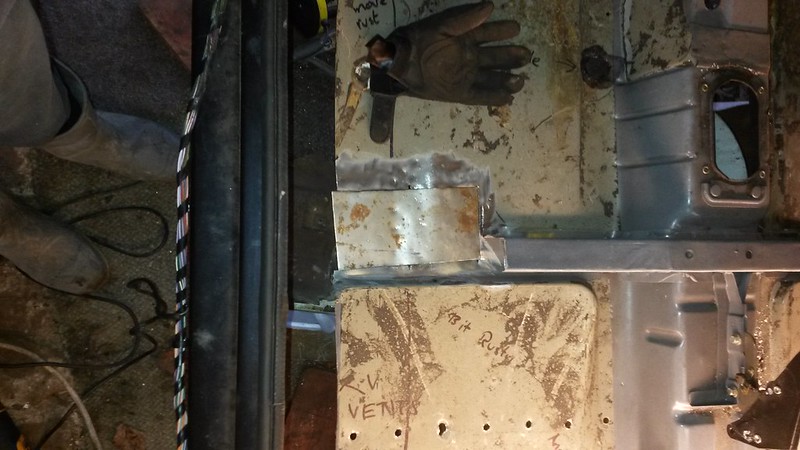
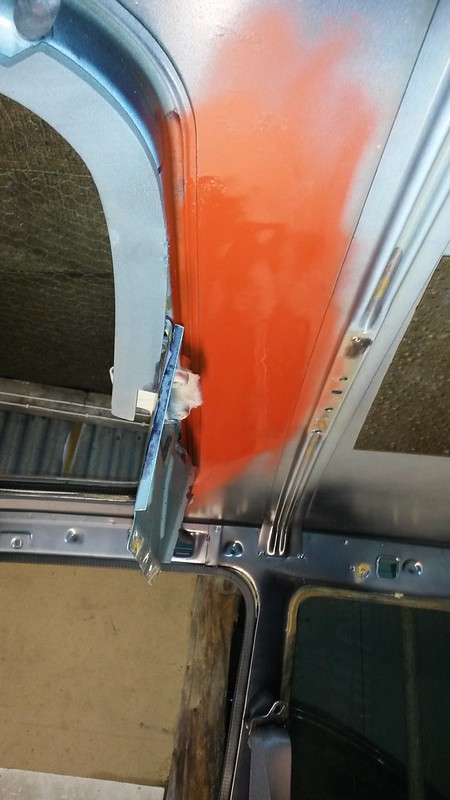
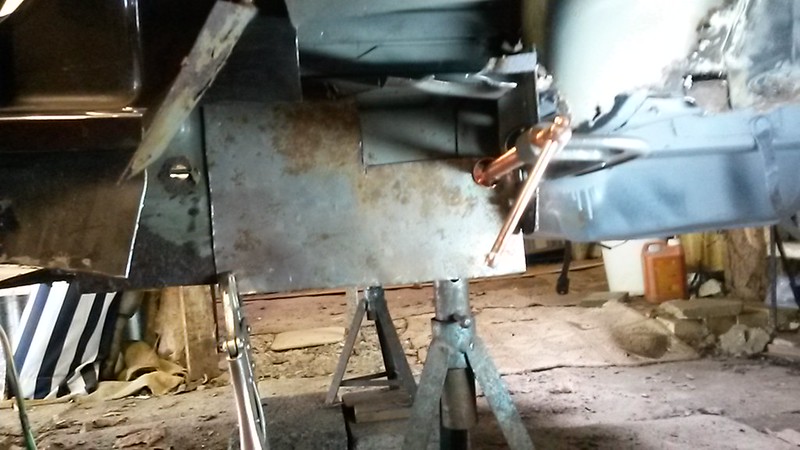
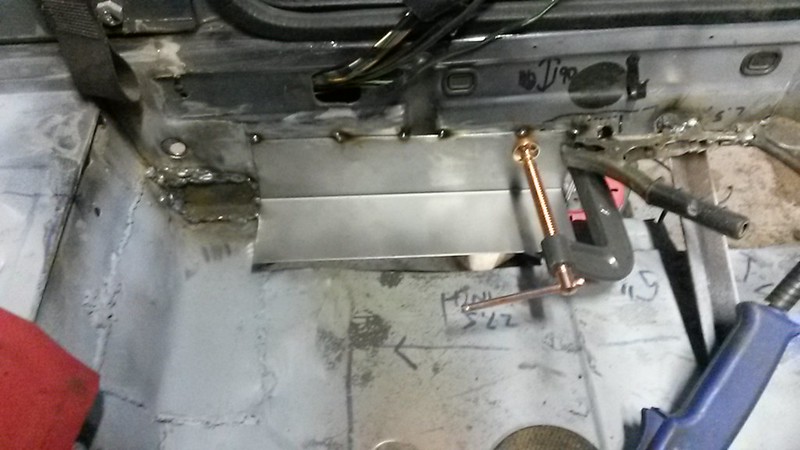
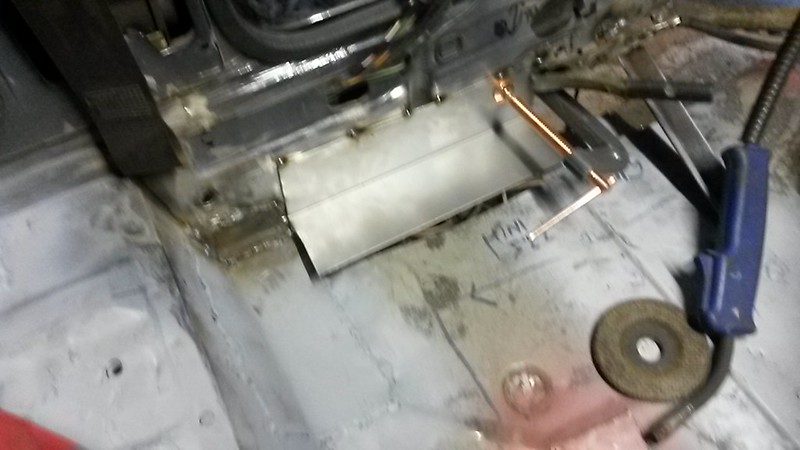
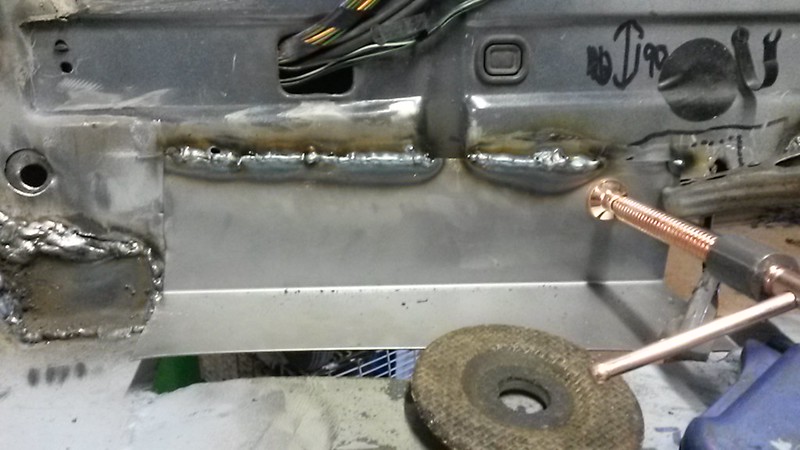
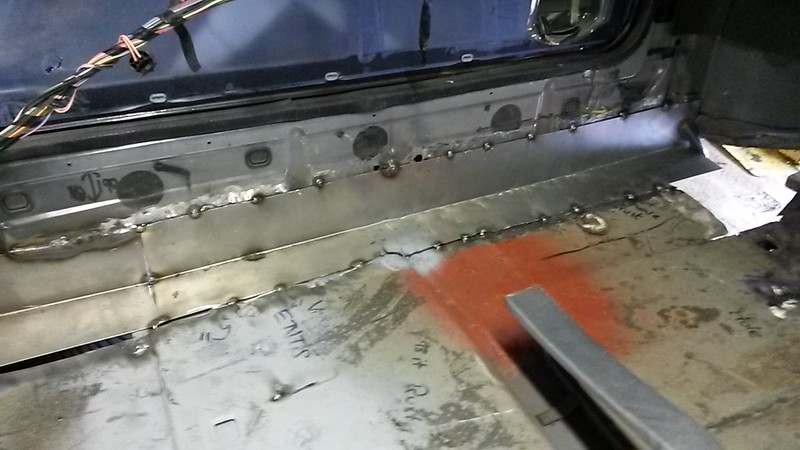
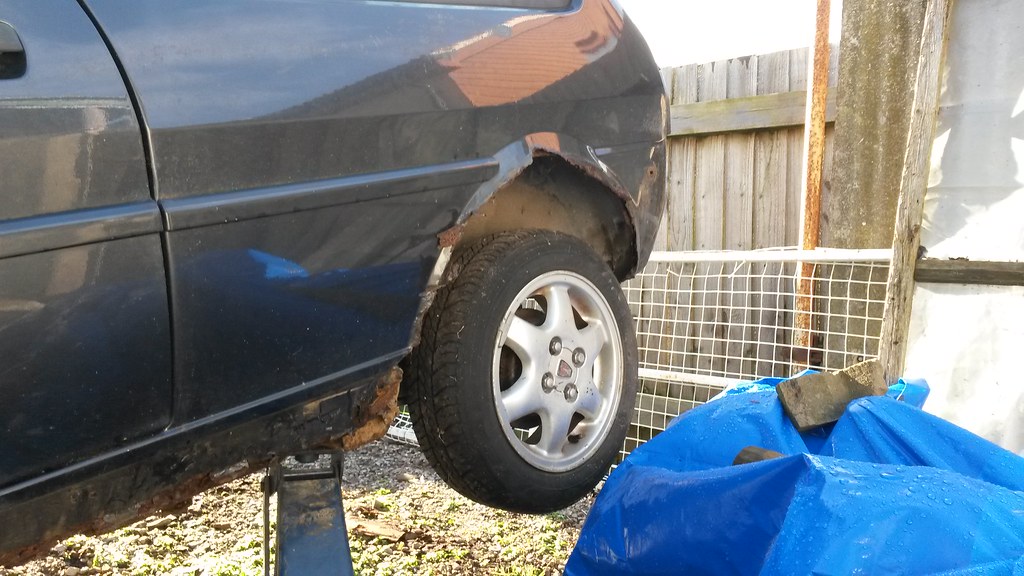
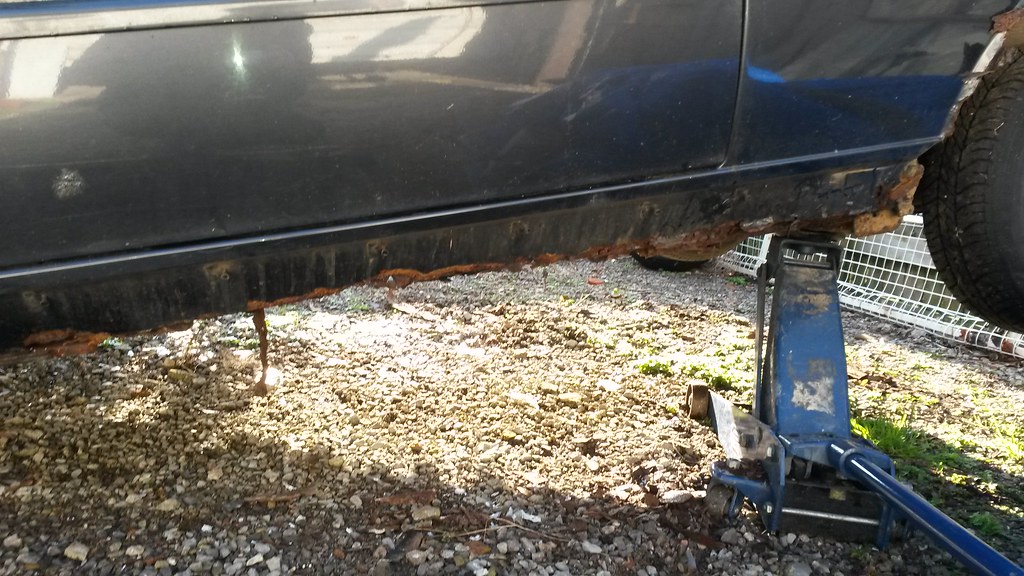
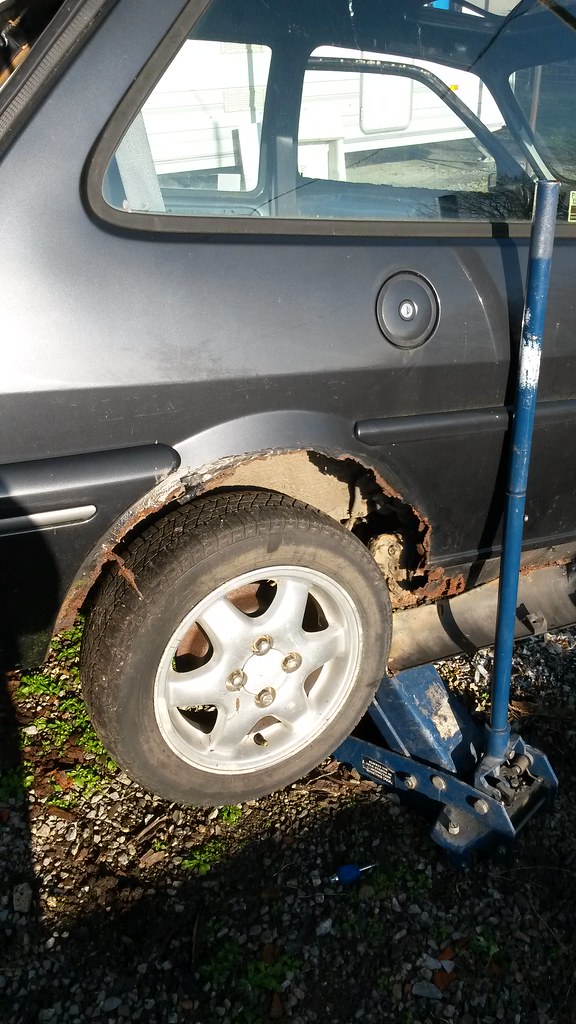
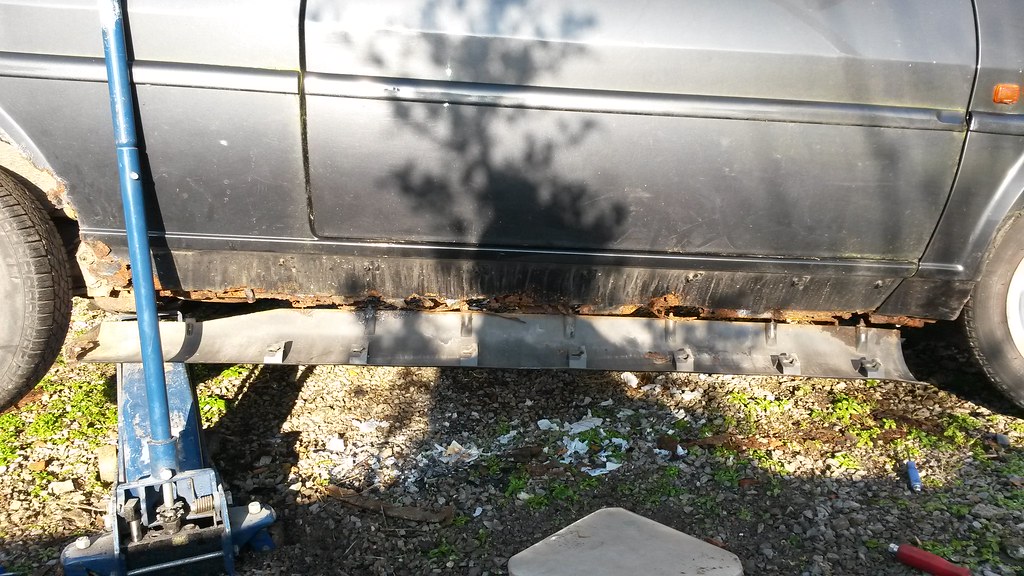
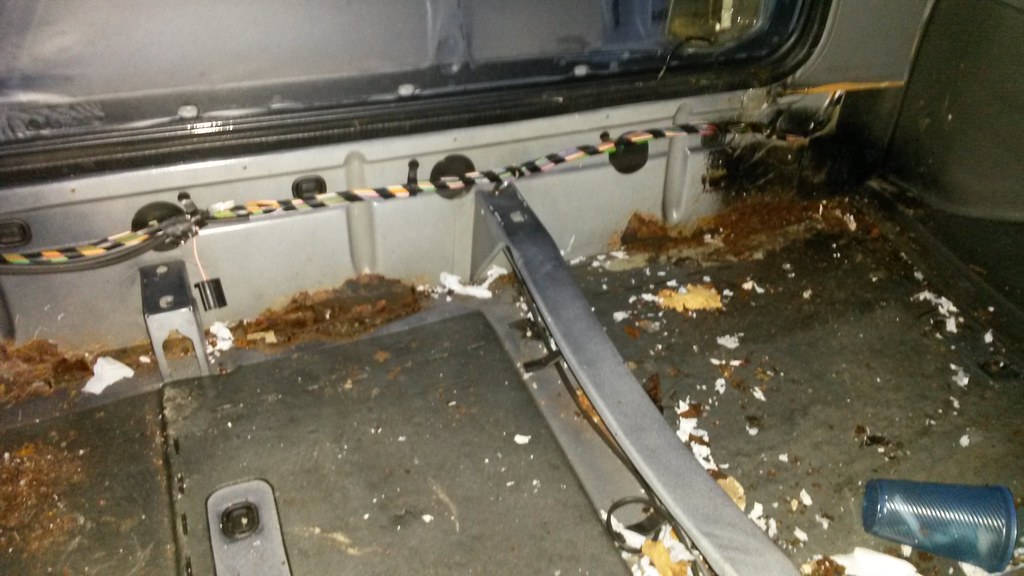
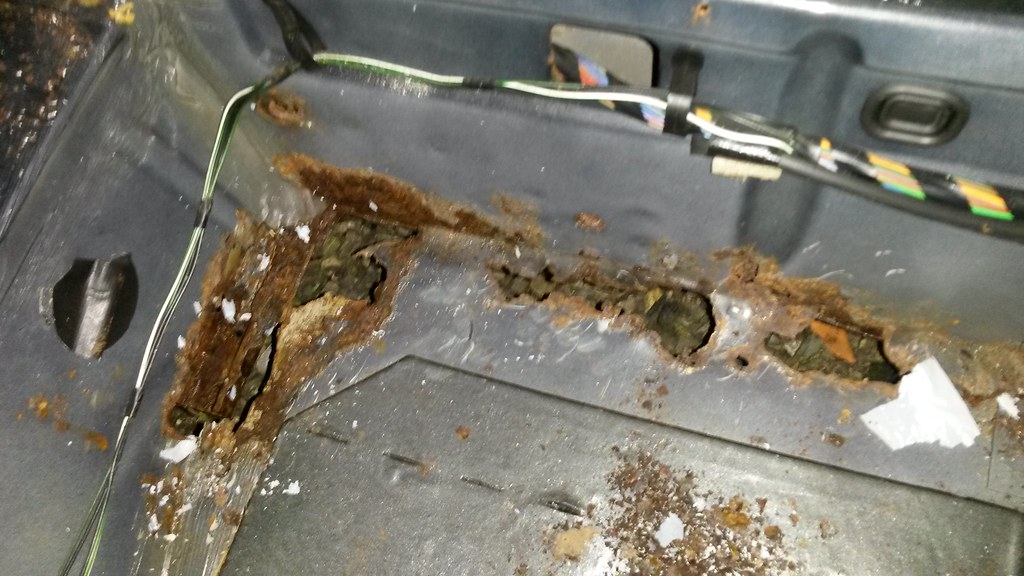
Wheres my sill gone?!!!?
Oh there it is:
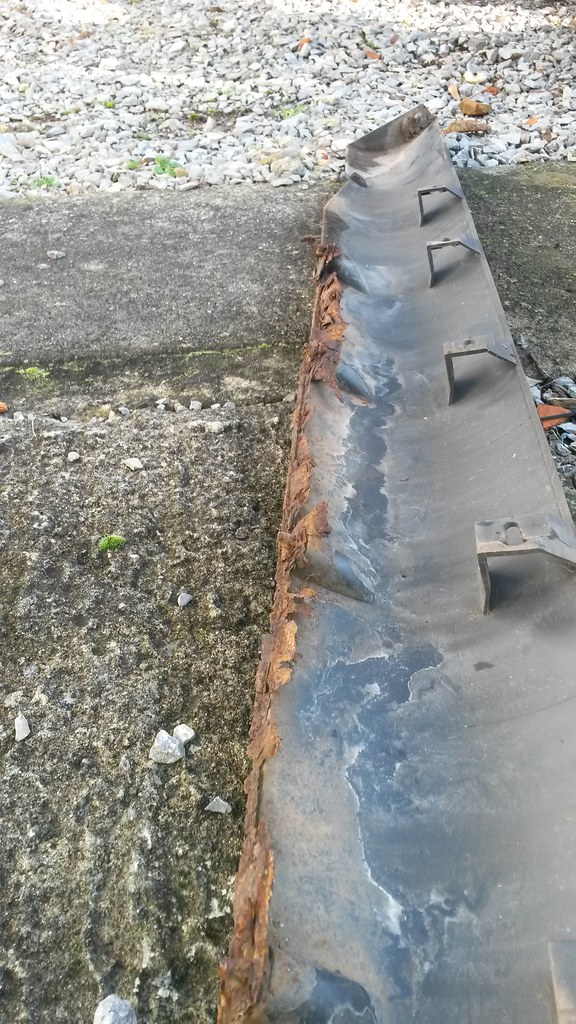
Untitled by MetroMorey, on Flickr
Untitled by MetroMorey, on Flickr
Untitled by MetroMorey, on Flickr
Untitled by MetroMorey, on Flickr
Untitled by MetroMorey, on Flickr

Untitled by MetroMorey, on Flickr
Untitled by MetroMorey, on Flickr
Untitled by MetroMorey, on Flickr
Untitled by MetroMorey, on Flickr

Untitled by MetroMorey, on Flickr

Untitled by MetroMorey, on Flickr
Untitled by MetroMorey, on Flickr

Untitled by MetroMorey, on Flickr
Untitled by MetroMorey, on Flickr
Untitled by MetroMorey, on Flickr
Untitled by MetroMorey, on Flickr
Untitled by MetroMorey, on Flickr
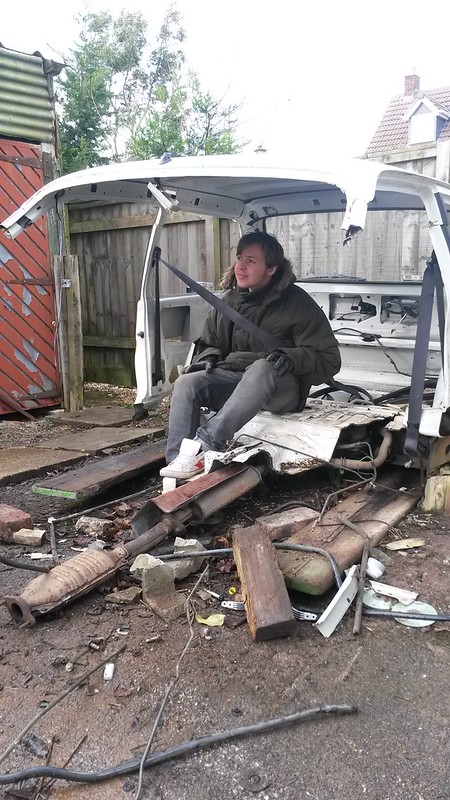
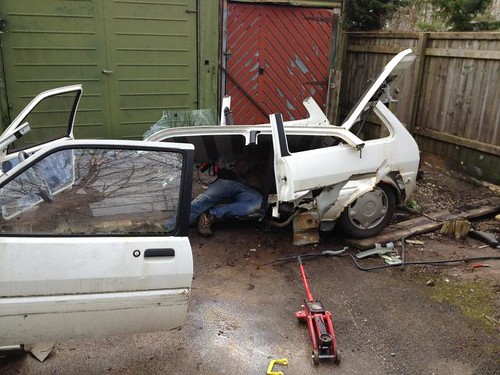
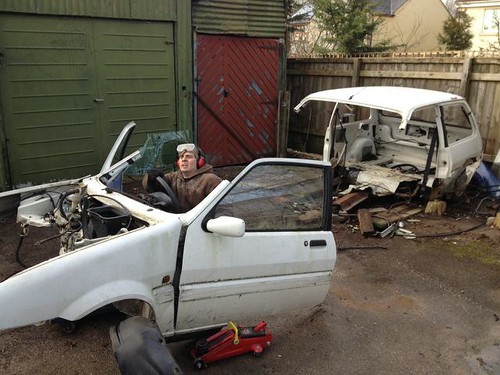
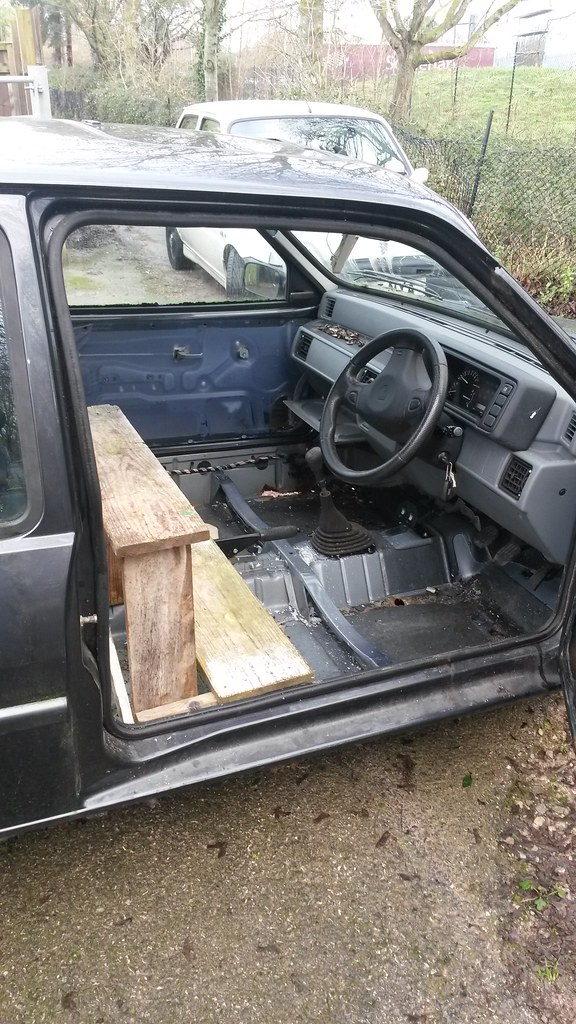
Tucking her away with my make shift seat...
Untitled by MetroMorey, on Flickr
So progress today:
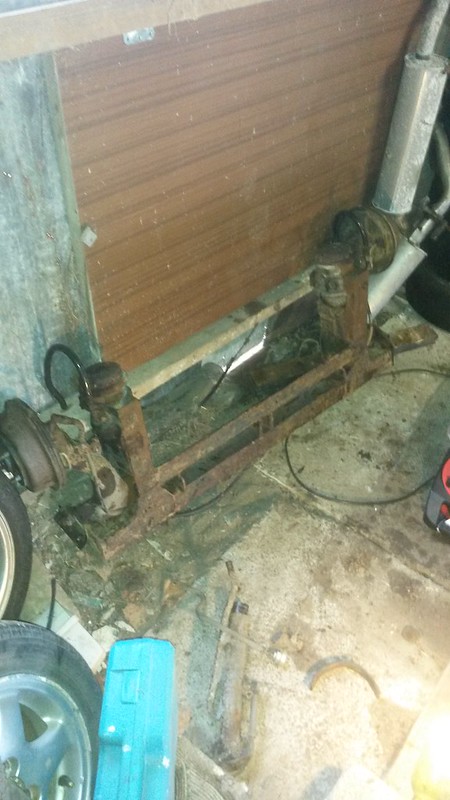
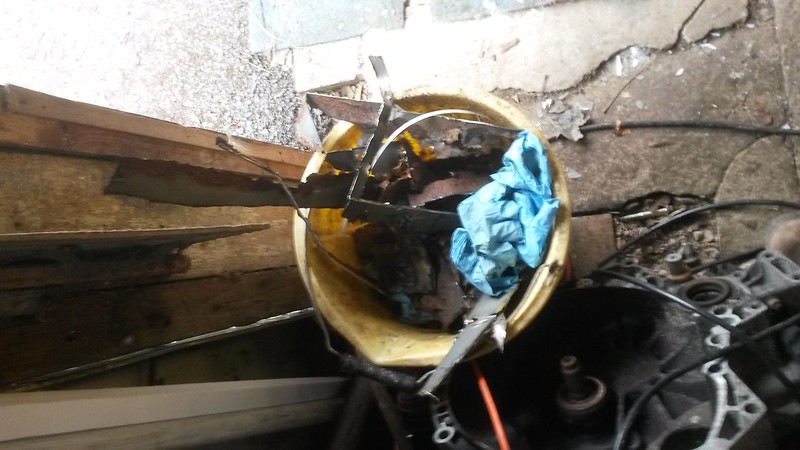
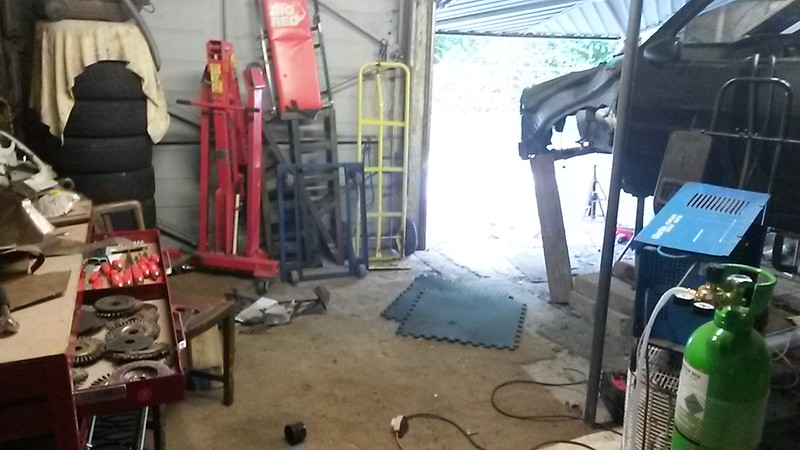
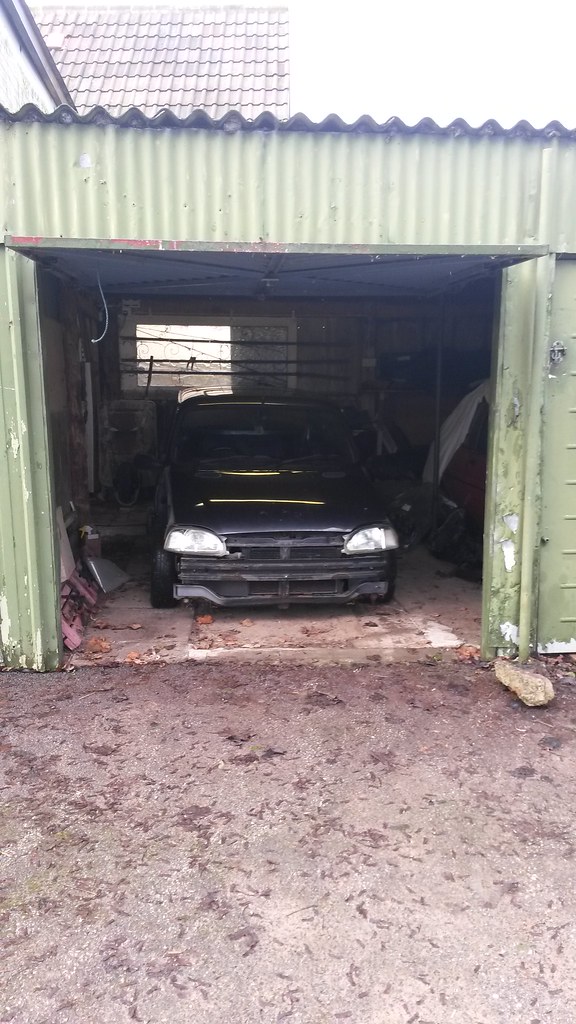
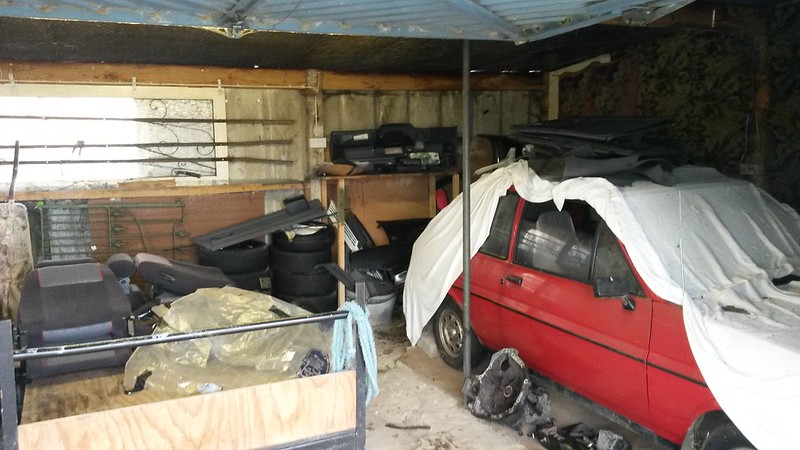
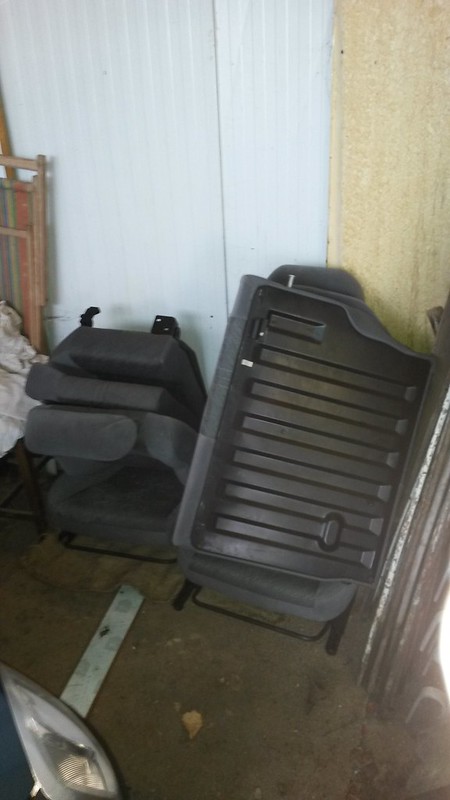
Found this hiding away in the corner of the cave:
Untitled by MetroMorey, on Flickr
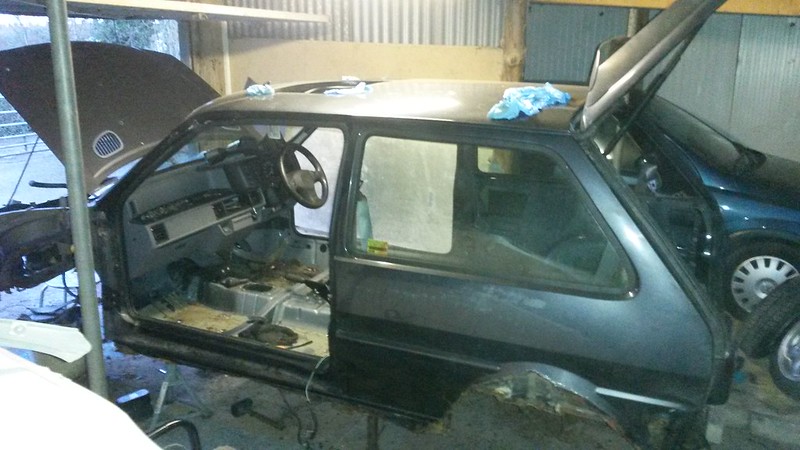
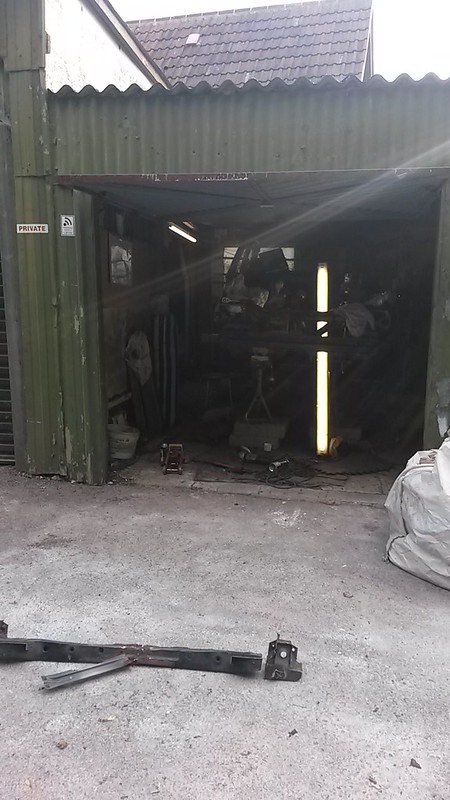
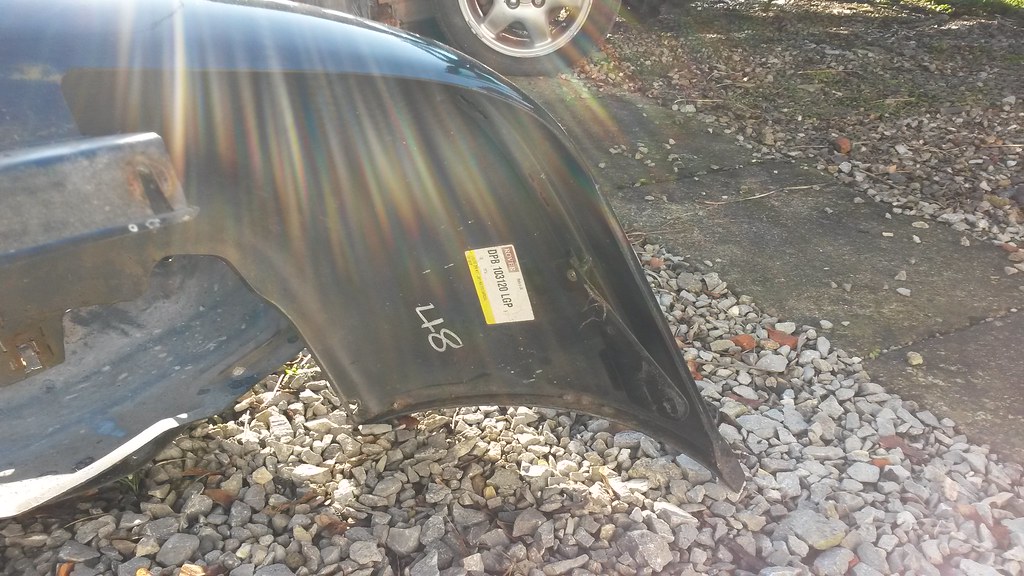
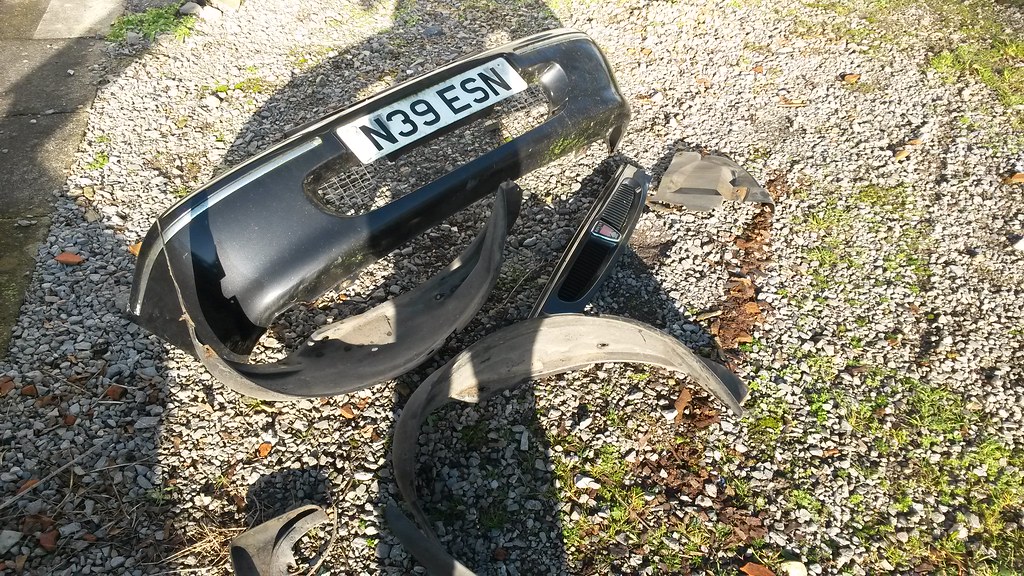
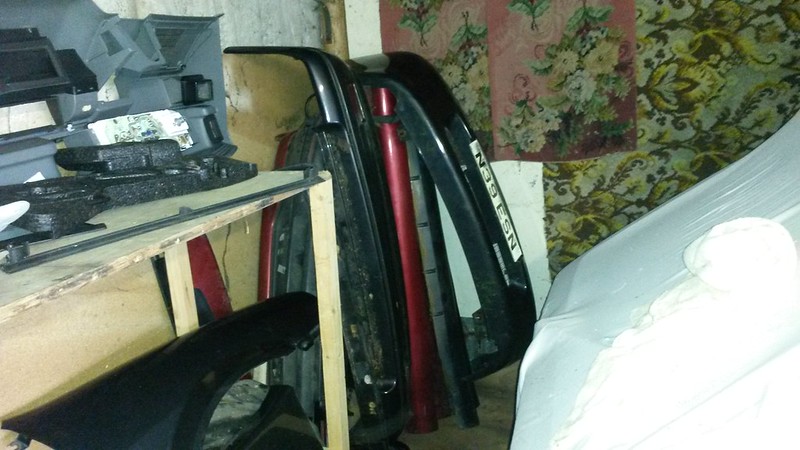
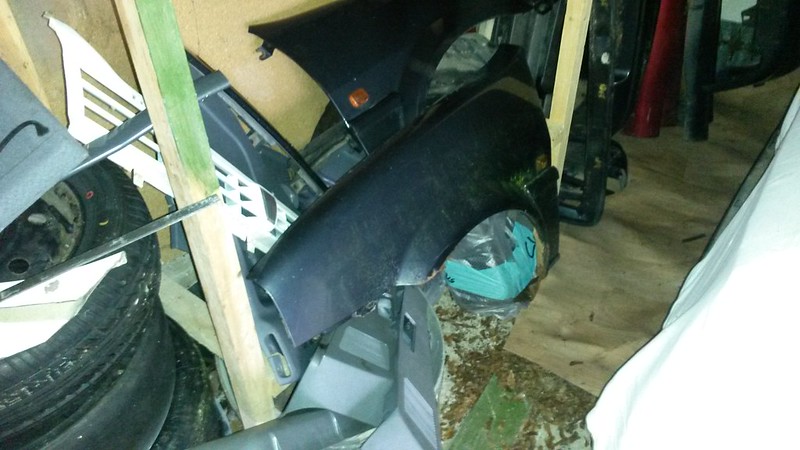
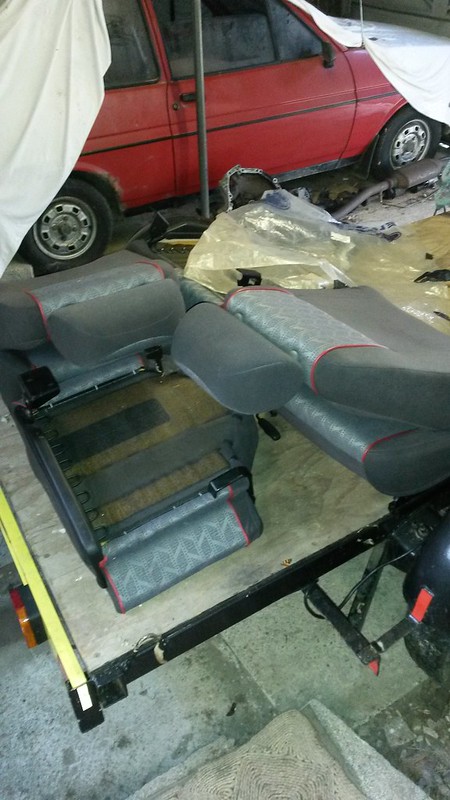
This is the actual cave! and yes that is a mk1 fiesta that belongs to my dad. Slowly populating this space with various metro spares. The Gta actually came with several spares, 2 wings, gti bumpers and a gti spoiler and a mint gta interior.
Untitled by MetroMorey, on Flickr
Untitled by MetroMorey, on Flickr
Untitled by MetroMorey, on Flickr
Untitled by MetroMorey, on Flickr
Untitled by MetroMorey, on Flickr
Untitled by MetroMorey, on Flickr
Untitled by MetroMorey, on Flickr
Untitled by MetroMorey, on Flickr
Untitled by MetroMorey, on Flickr
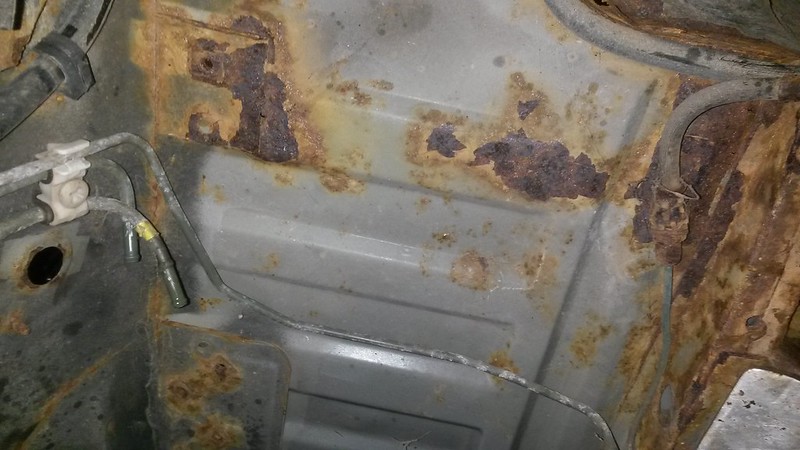
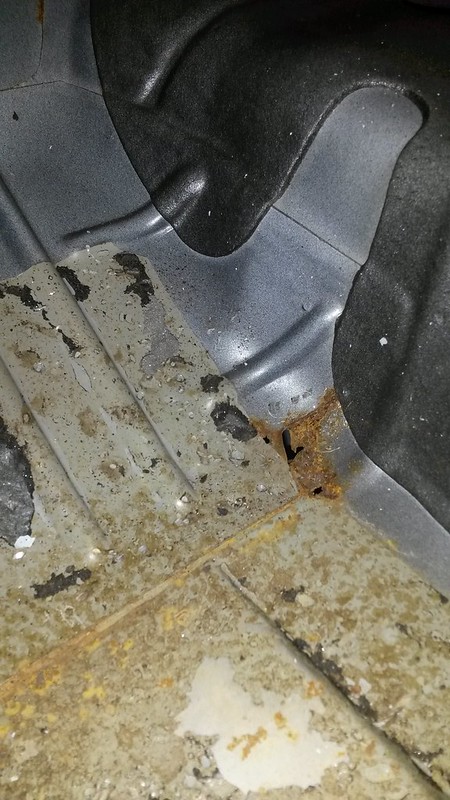
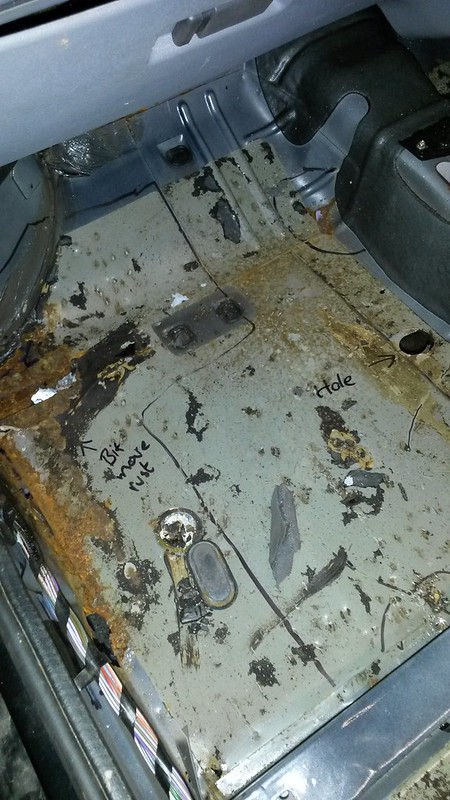
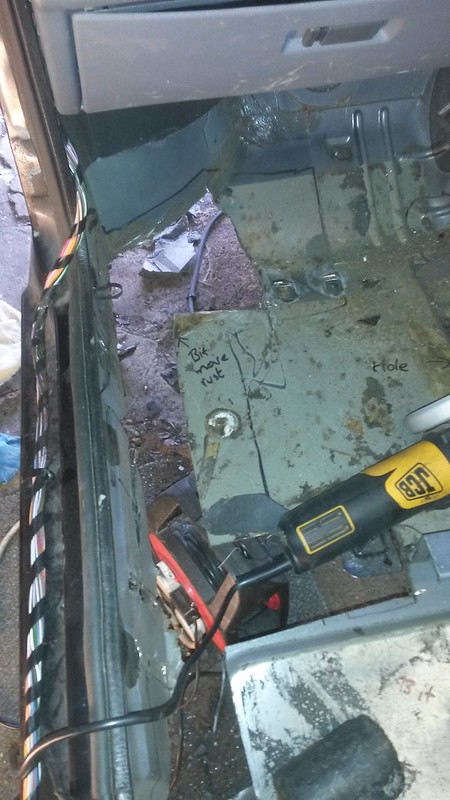
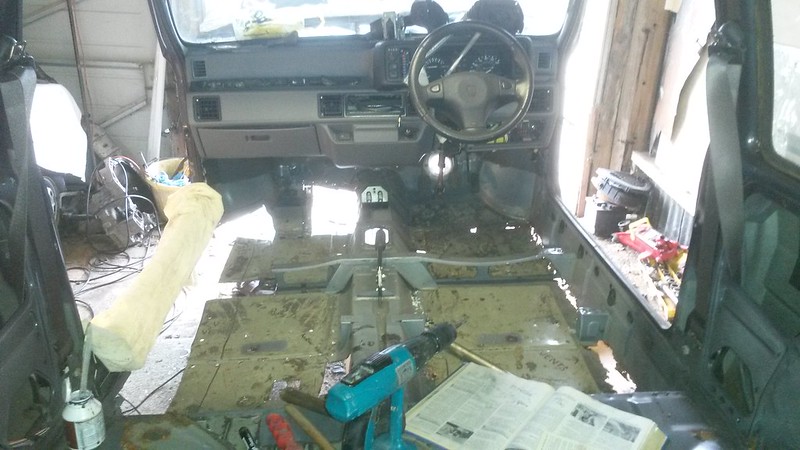
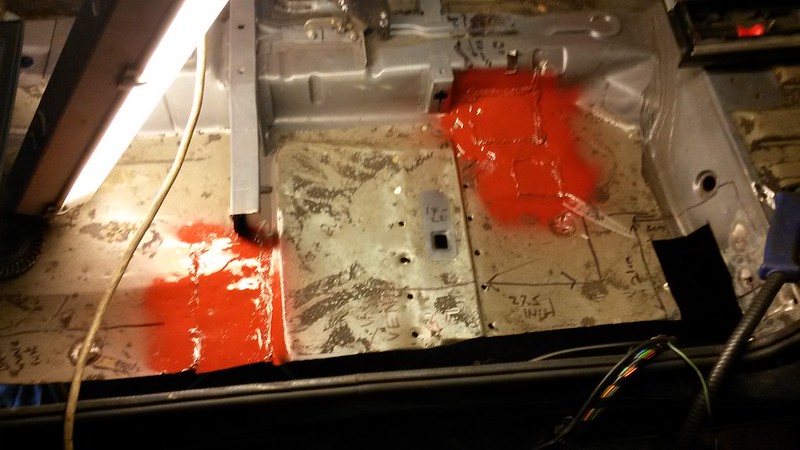
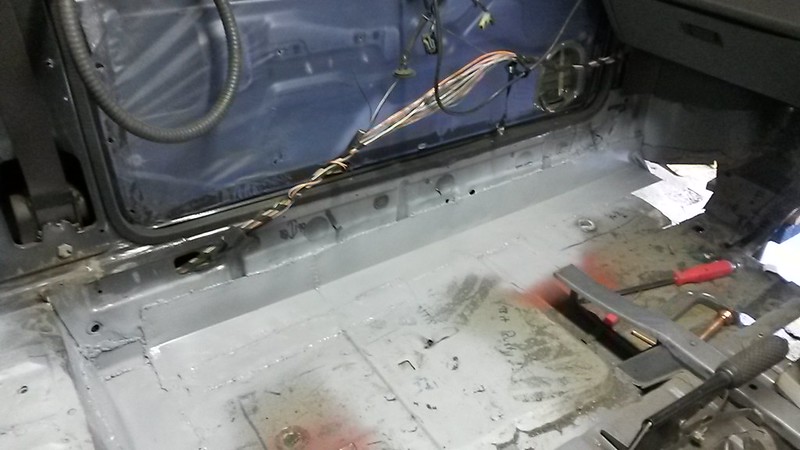
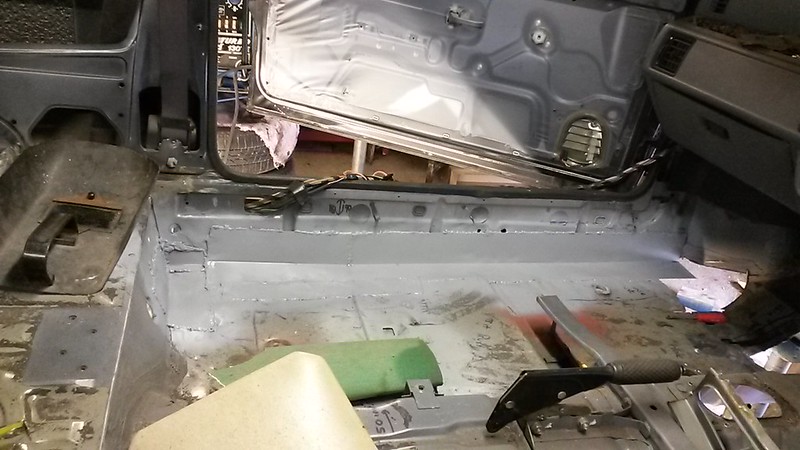
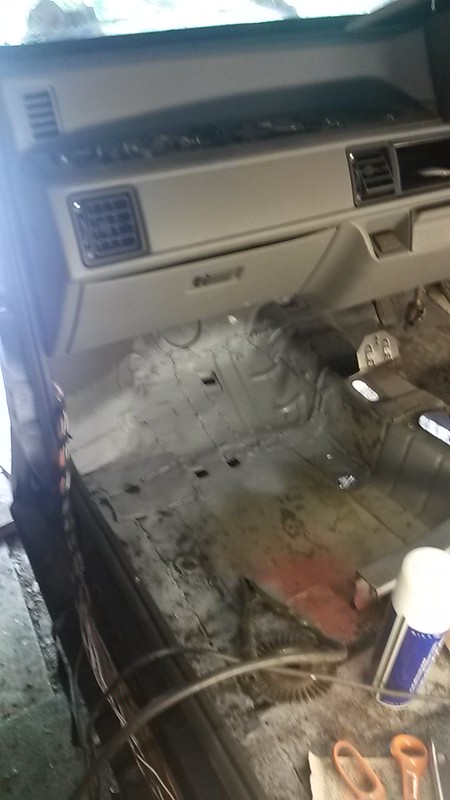
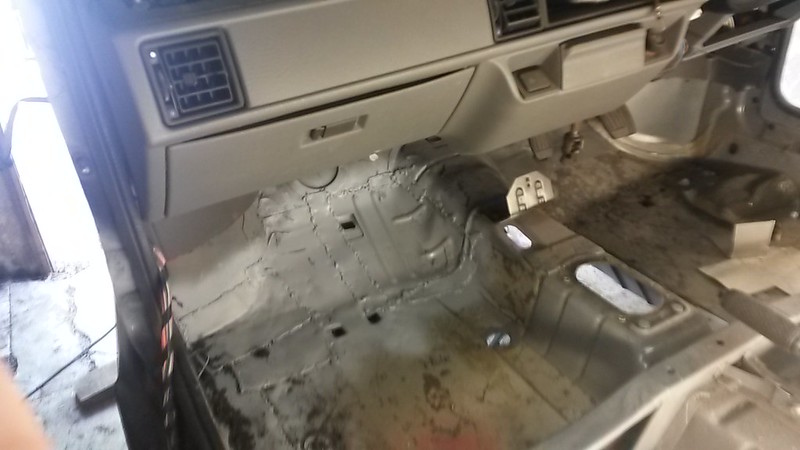
Next jobs:
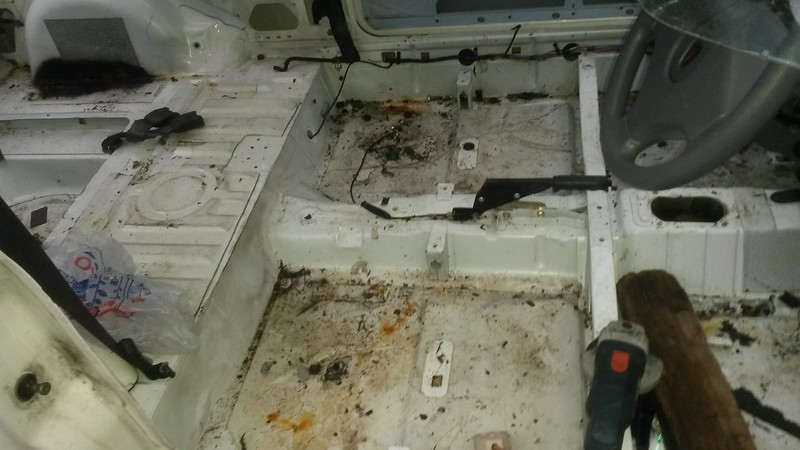
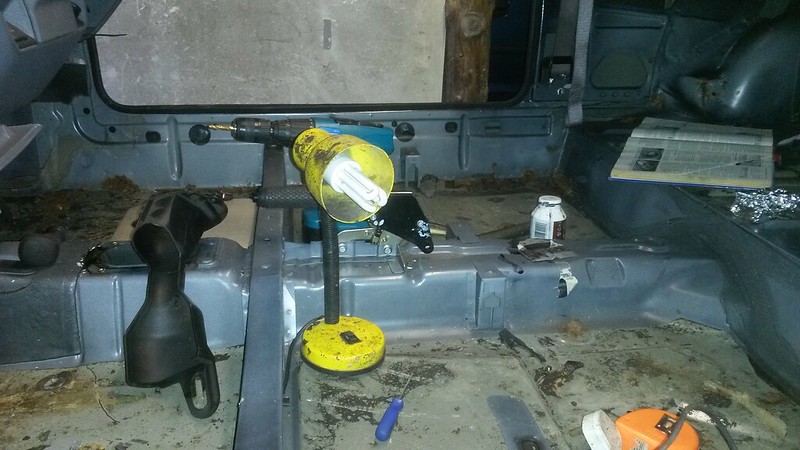
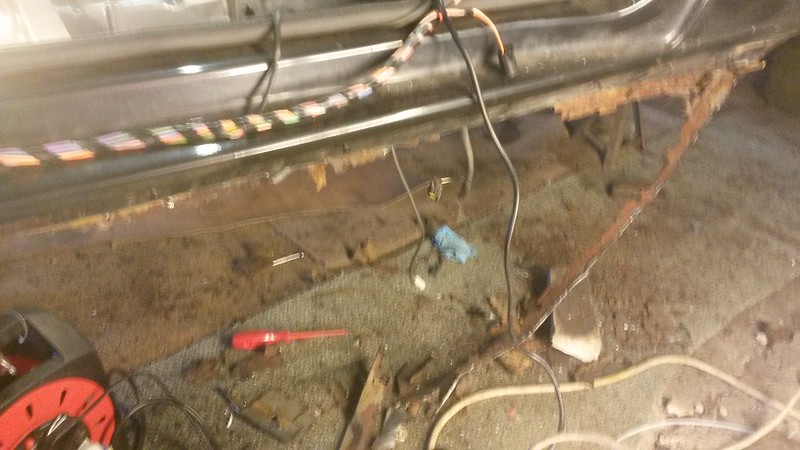
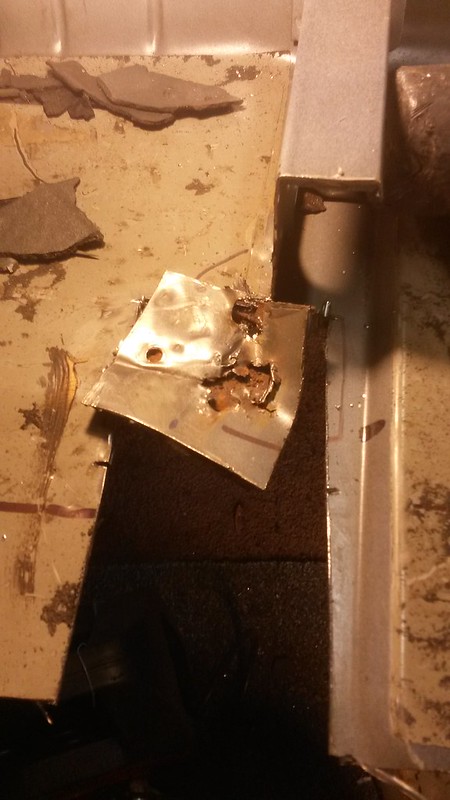
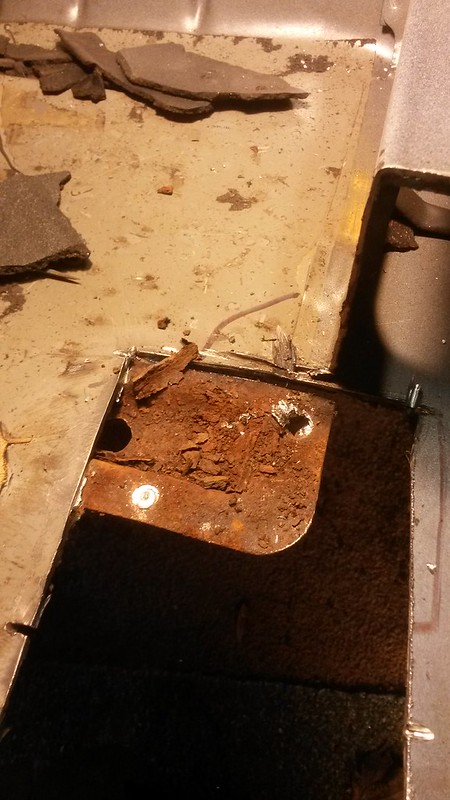
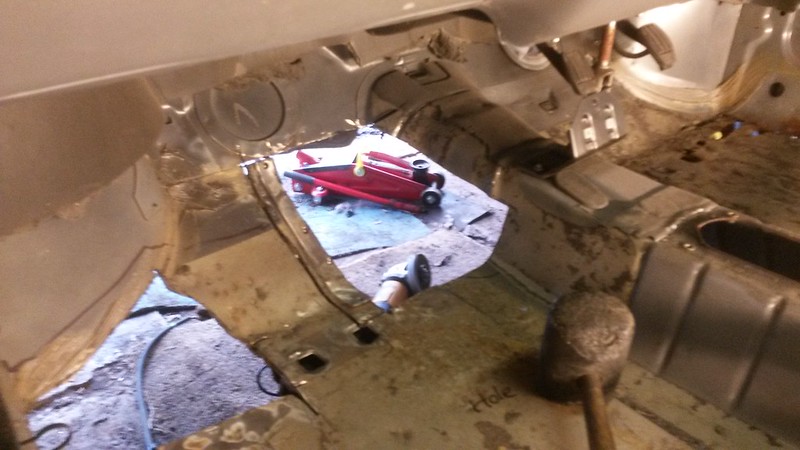
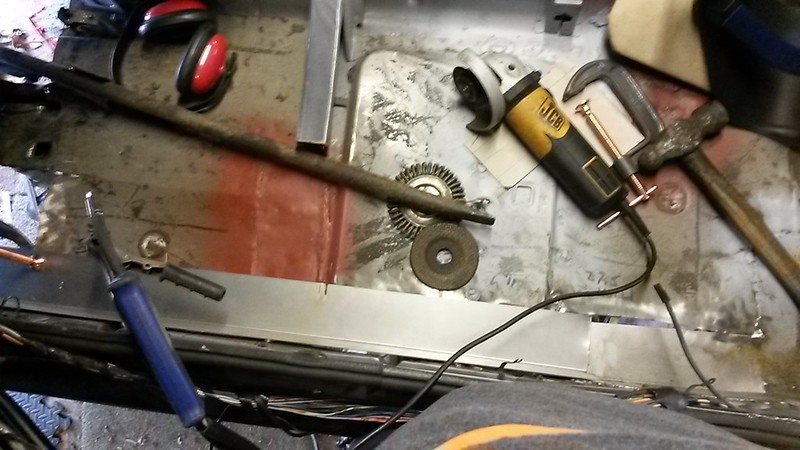
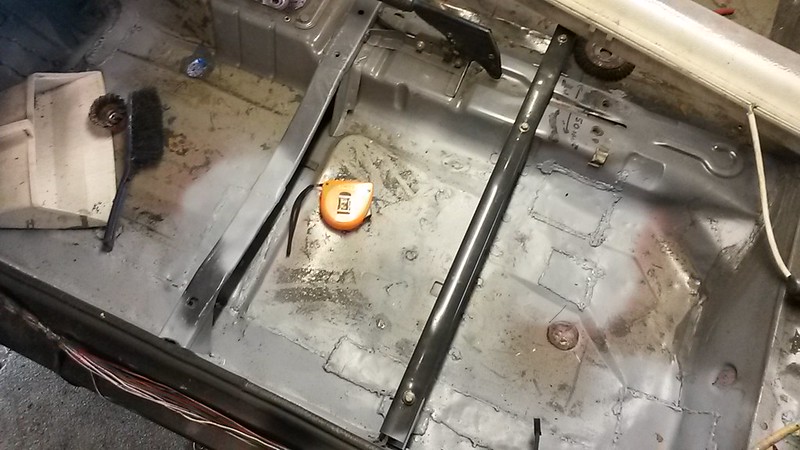
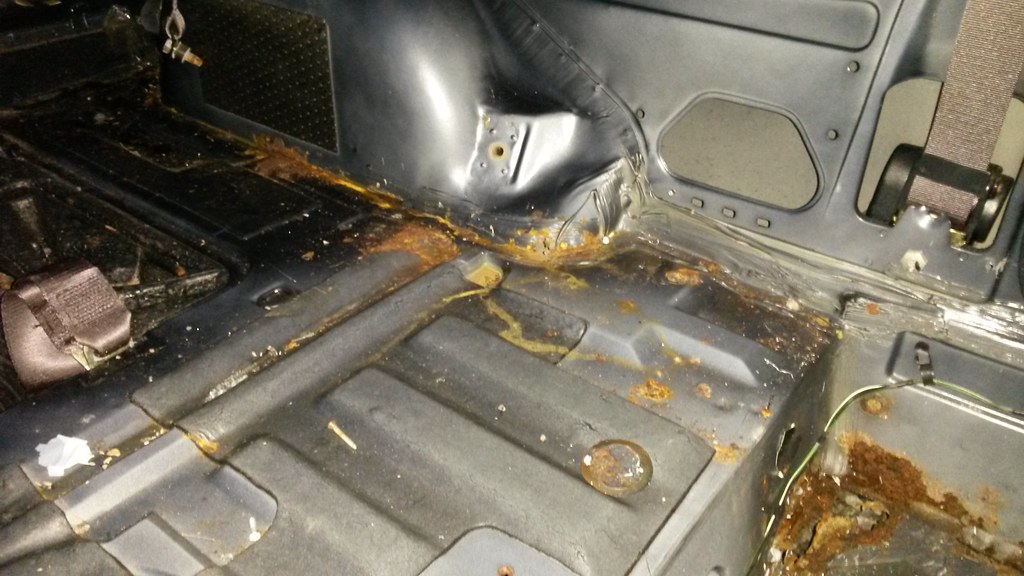
Is cutting the rot out of the floors.
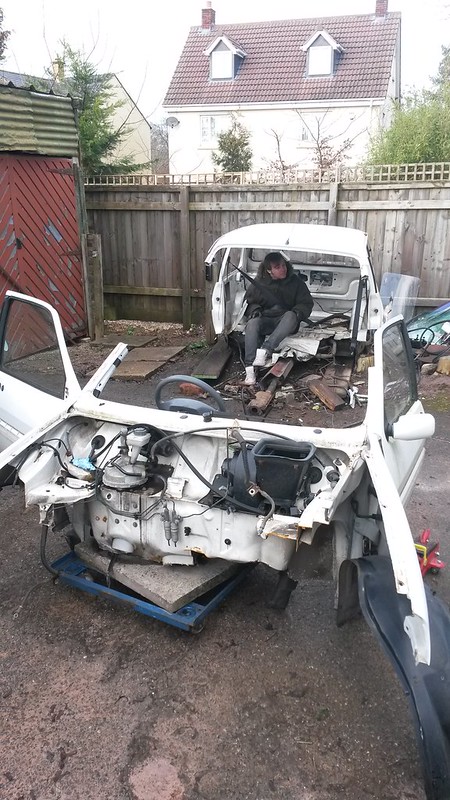
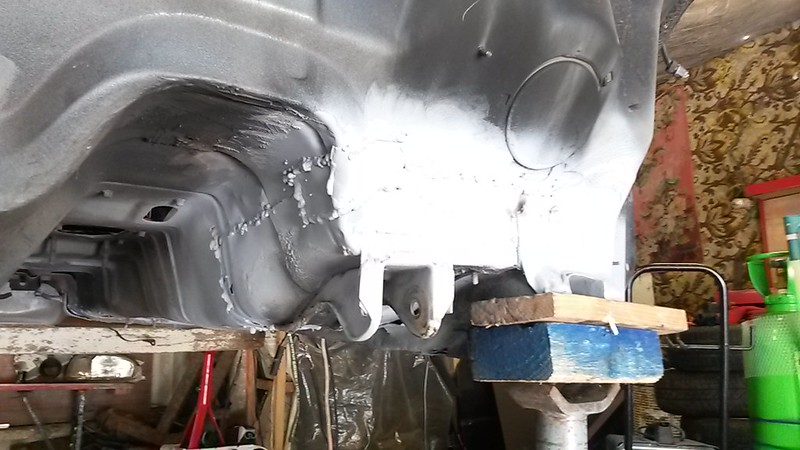
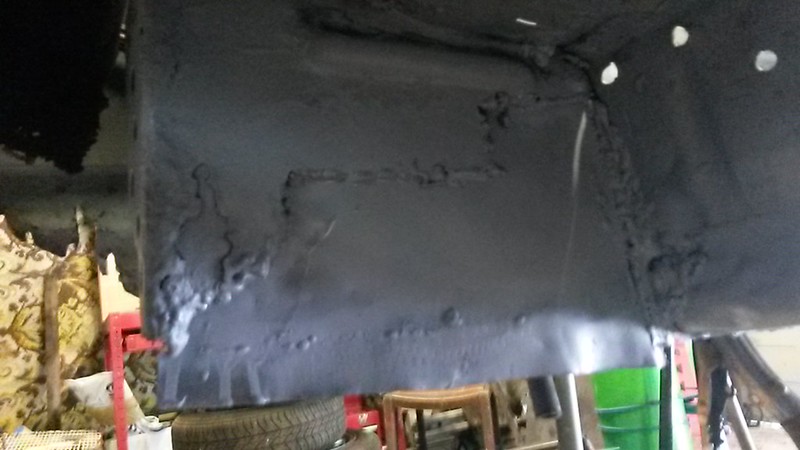
tackling the front chassis legs and front crossmember.
cut and trim good panels out of white shell i own
measure up seriously bad areas for donor panels
buy certain panels (certainly rear valance and possible front crossmember, arches
watch this space, alot of work still to come just preparing for welding. Let alone welding.
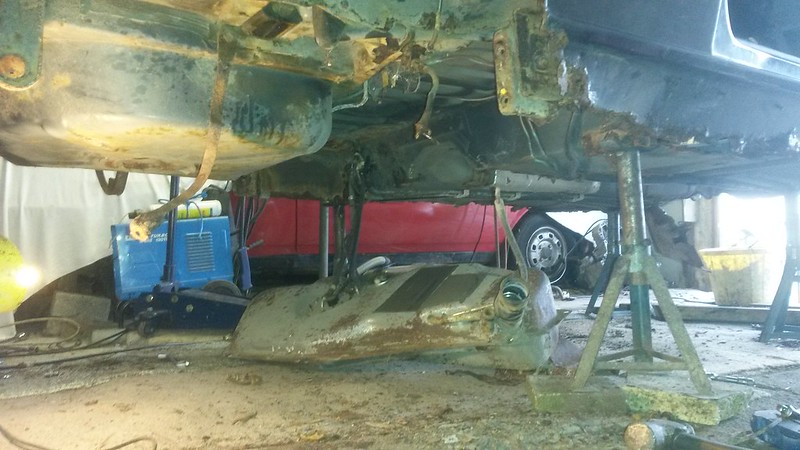
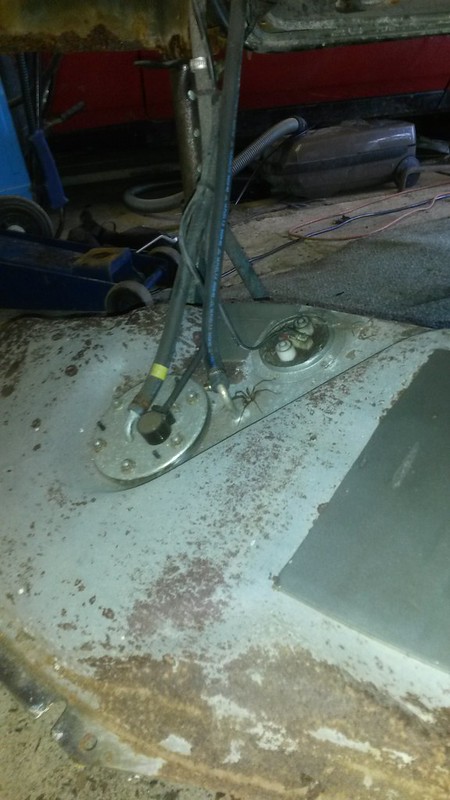
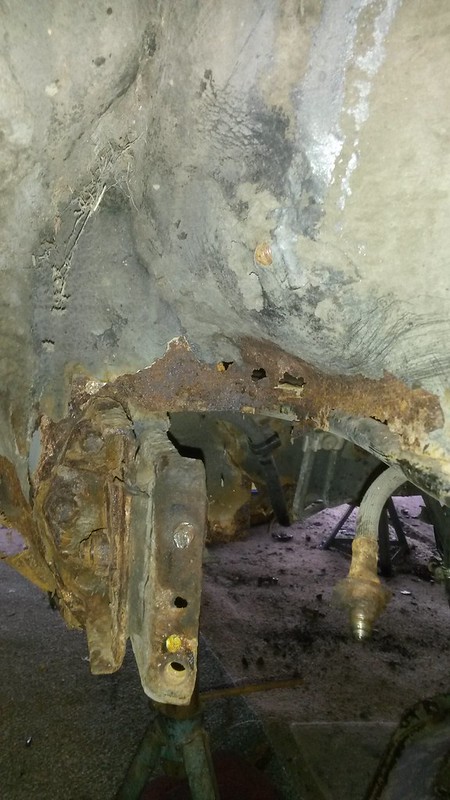
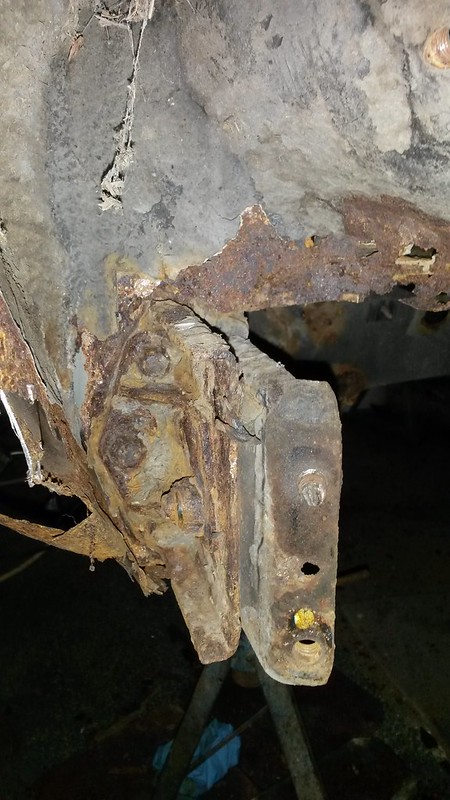
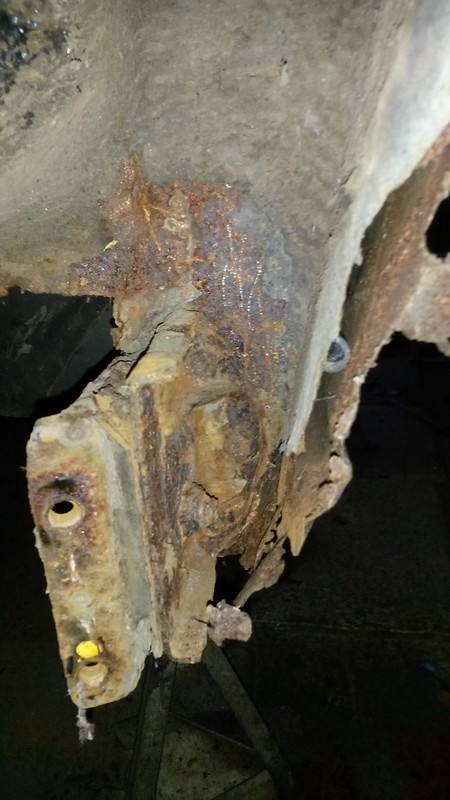
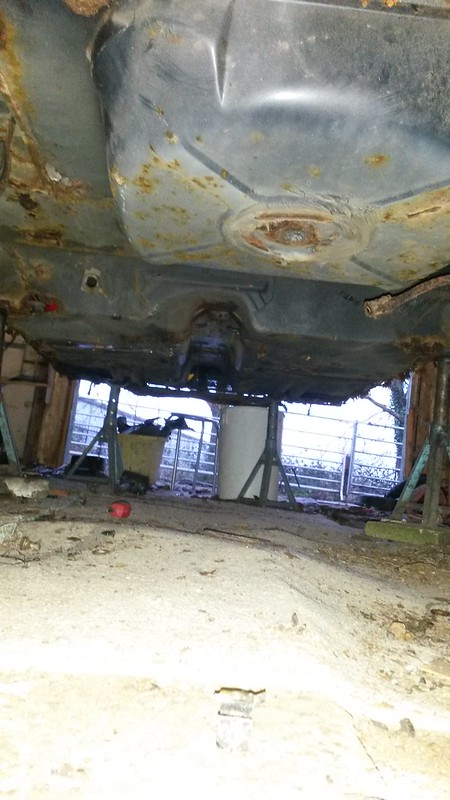
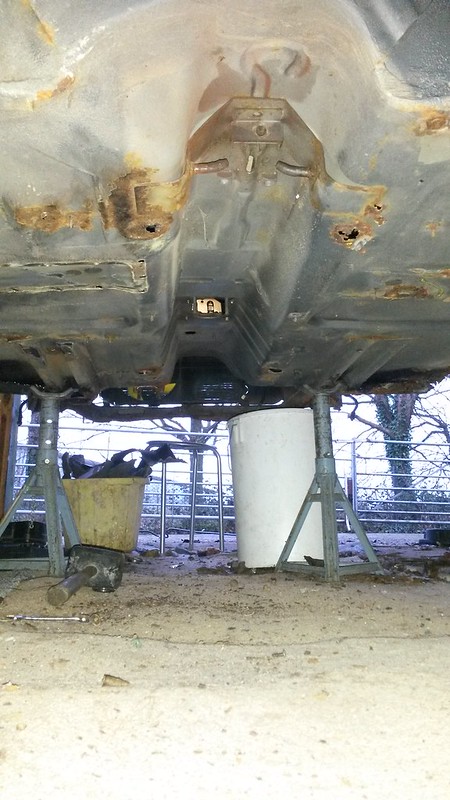
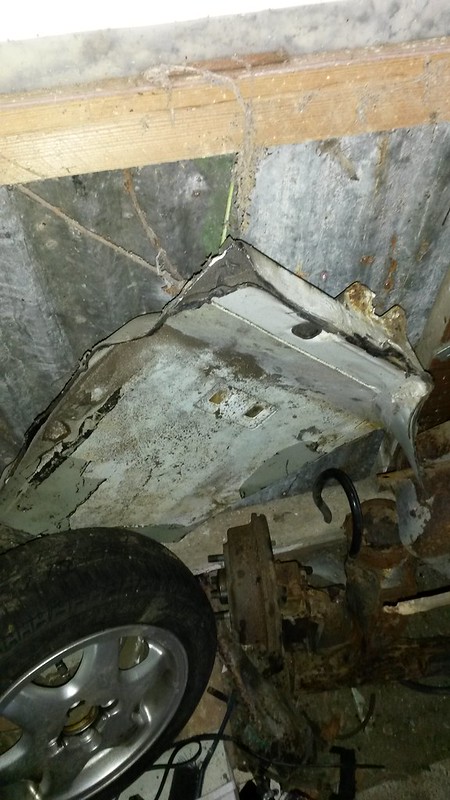
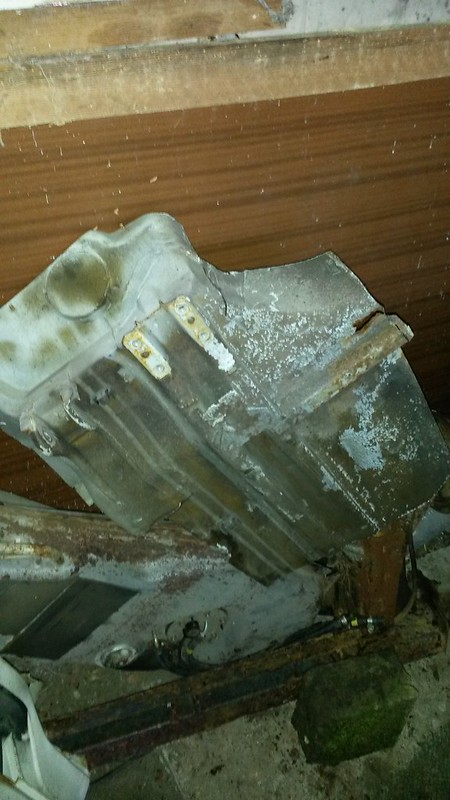
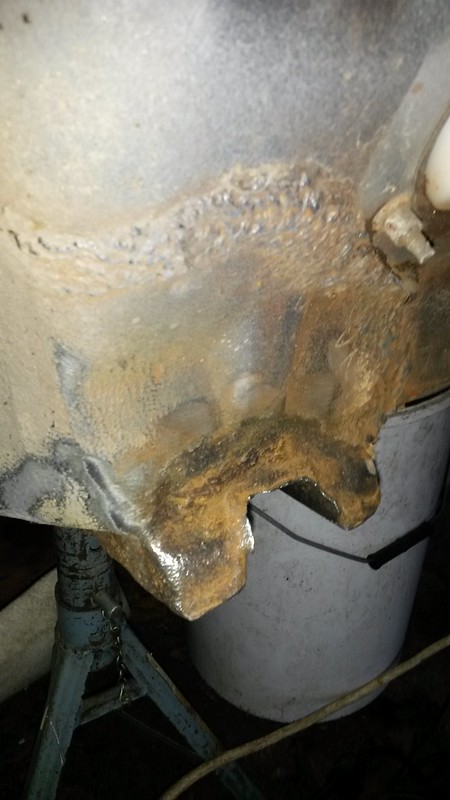
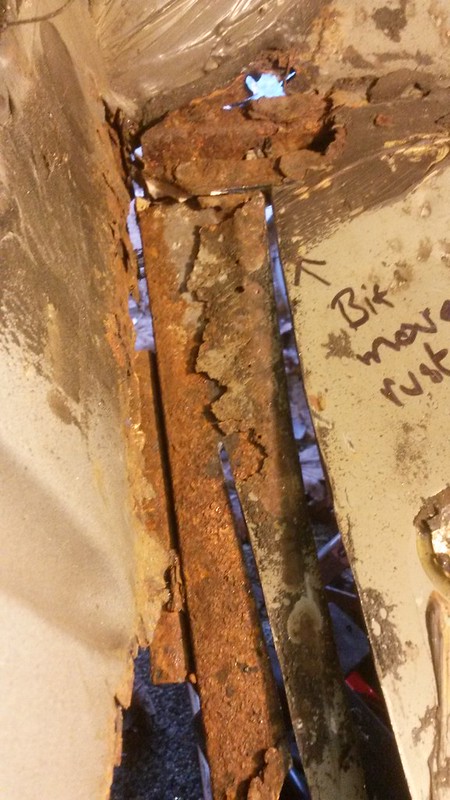
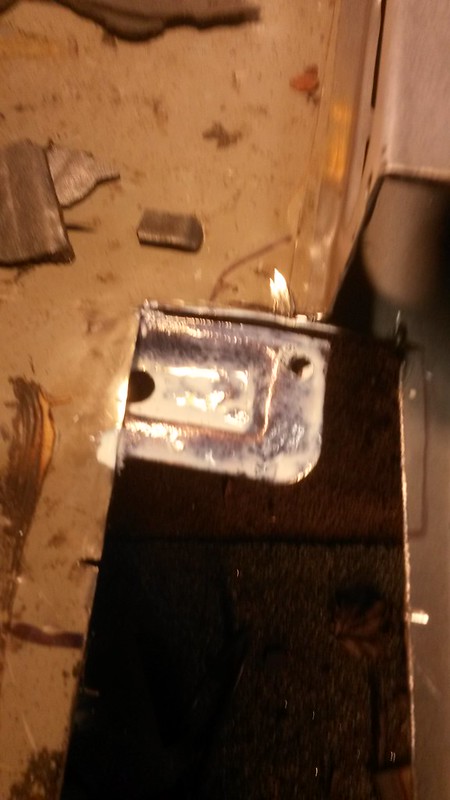
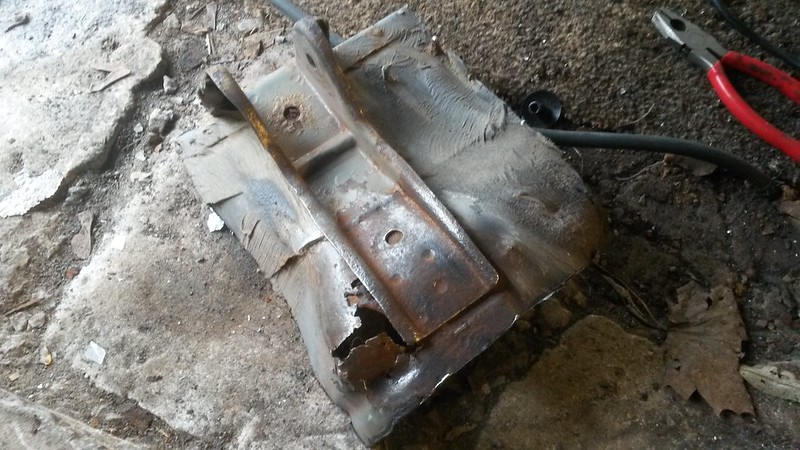
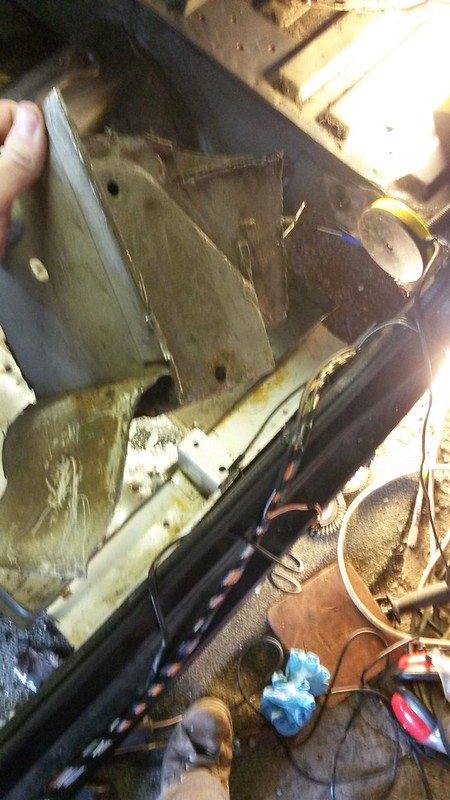
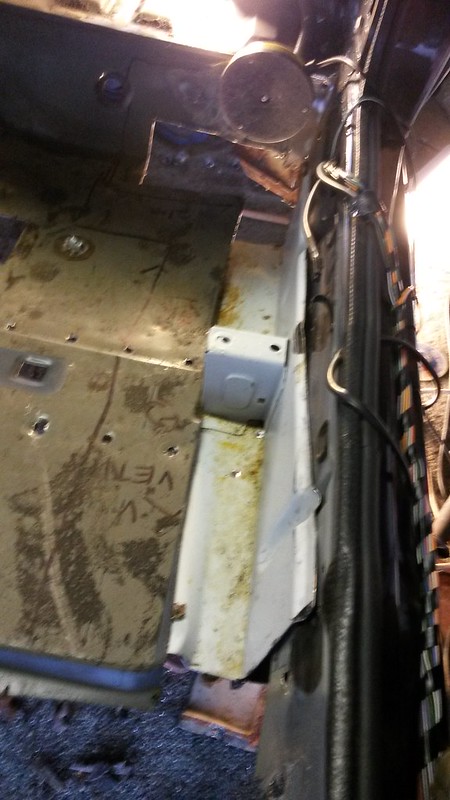
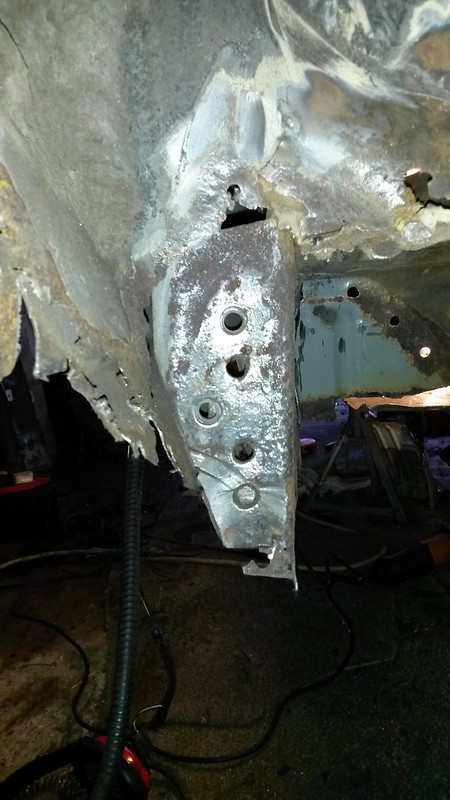
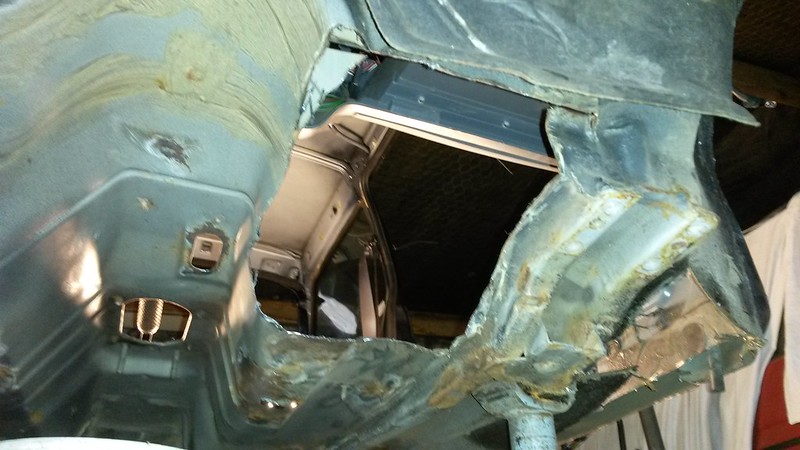
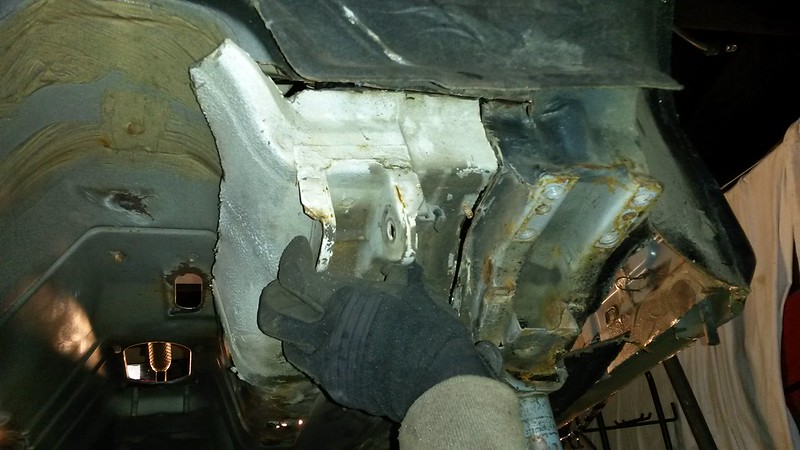
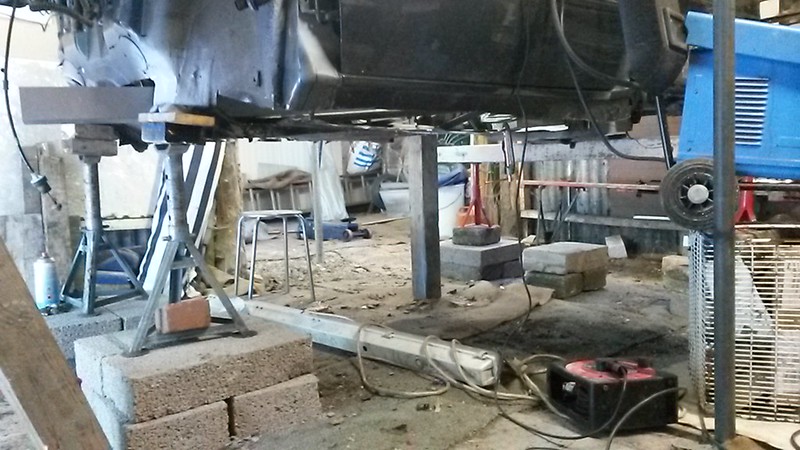
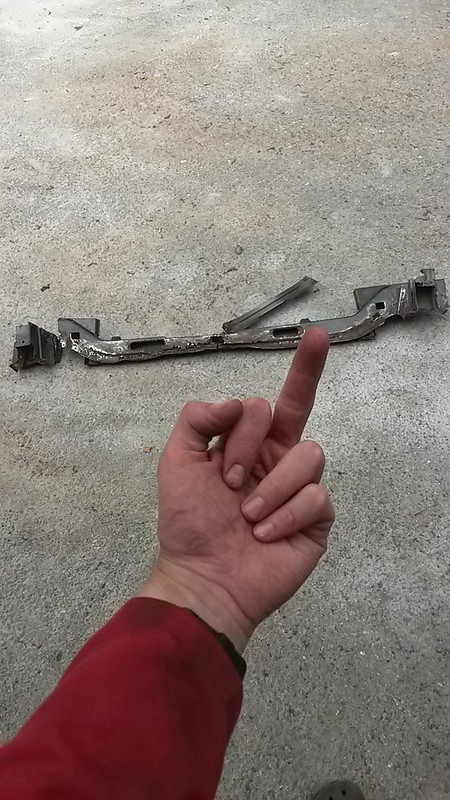
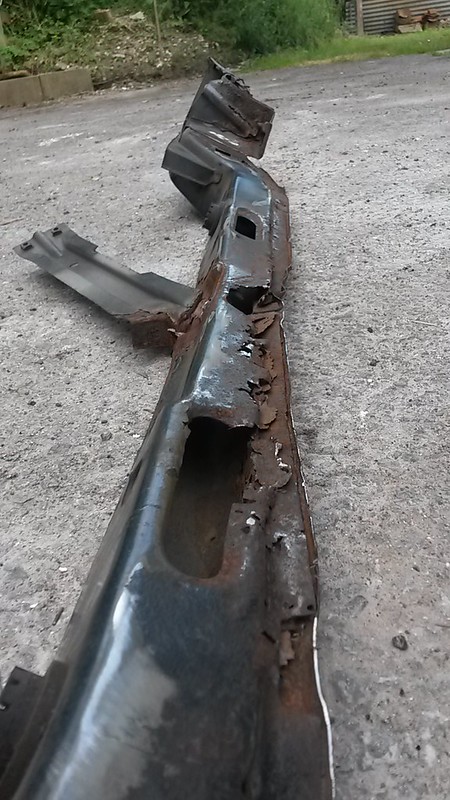
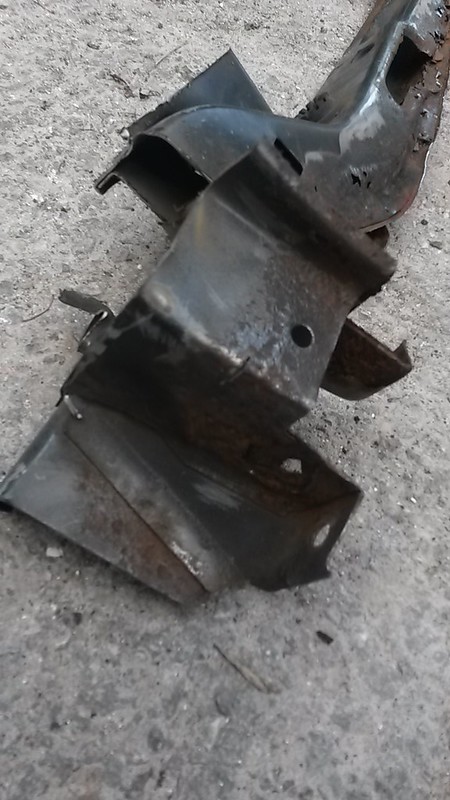
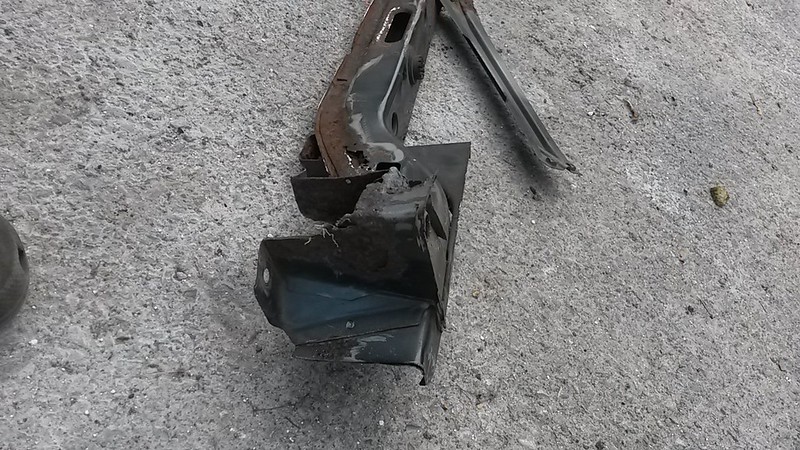
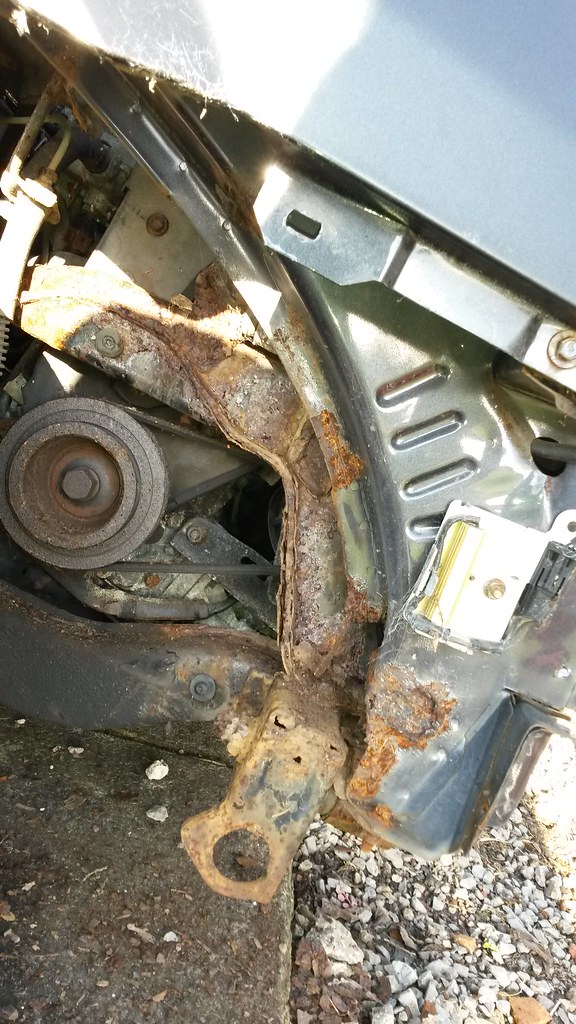
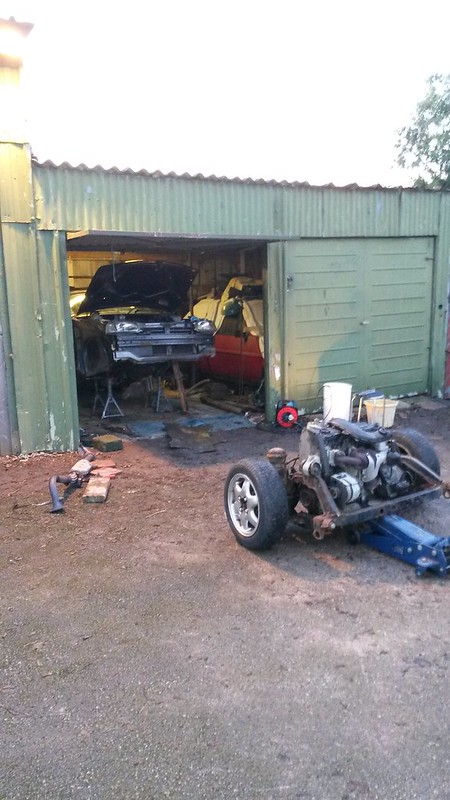
Have certain trouble areas, serious structural issues front subframe rear mounting point (driver side) and support rail seriously corroded. Have to drill out spot welds for seat mounts and also support beam for floor. remove and possibly replace. possibly chop entire spare wheel well out and replace after dropping the fuel tank and rear subframe down. probably as ruined as the front subframe was.
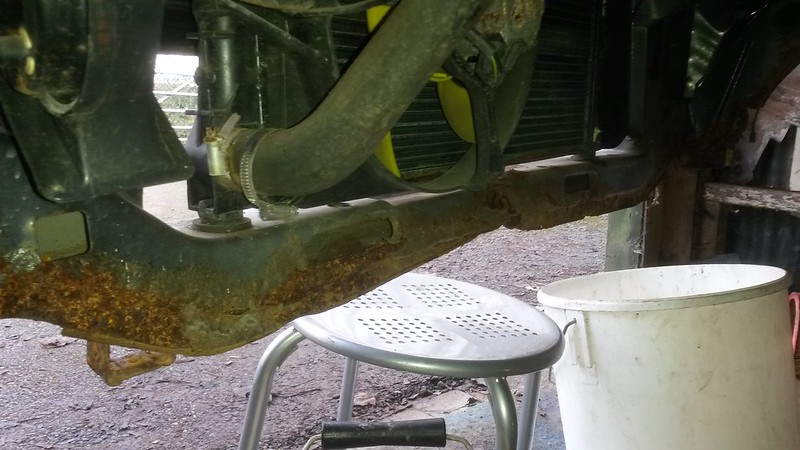
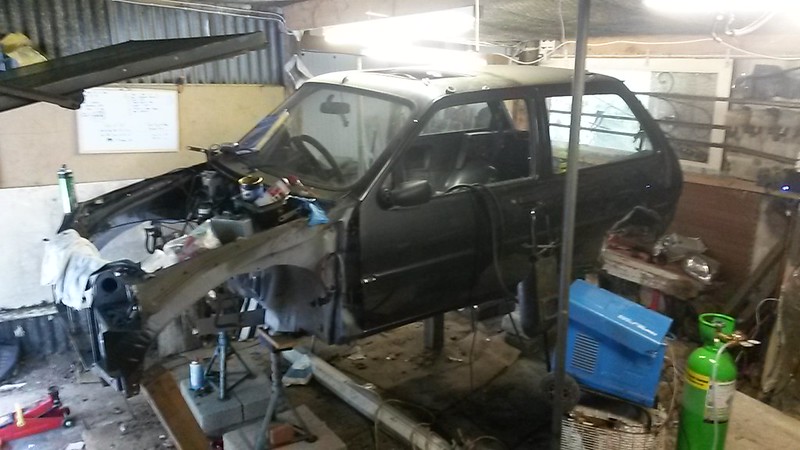
Also would like to add i was undoing the front subframes driver side, front mount, and well it crumbled to dust. The engine along with the subframe was holding on to only 3 points of the chassis. 3 out of 4 bolts sheared off from rust. and the grinder came out a few times...
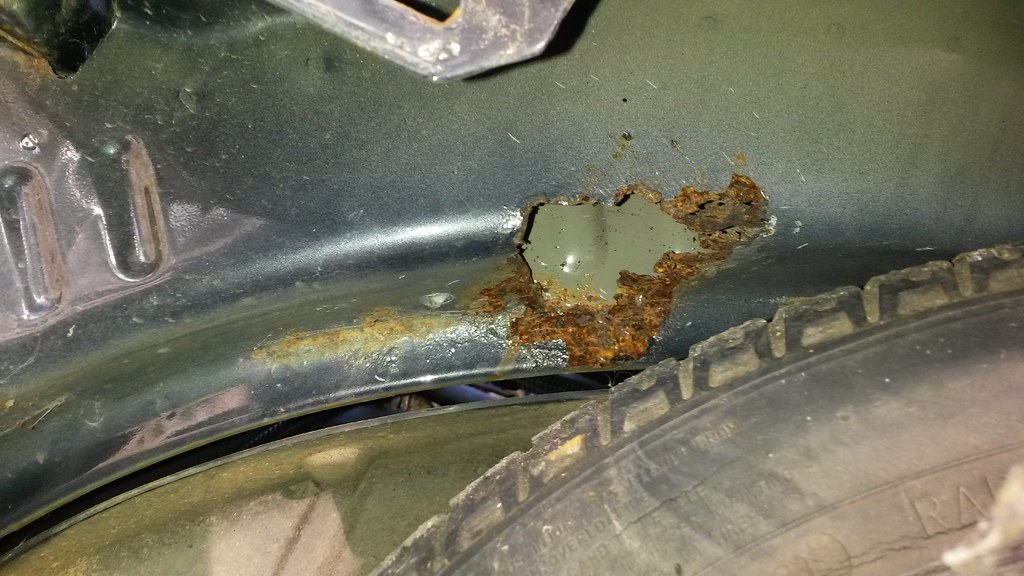
SO MUCH GOD DAMN MOTHERFUCKING RUST ITS BEYOND CATASTROPHIC