- Interior & comfort
- Be the first to comment!
- Read 7412 times
Maplin central locking motors
The standard factory fit central locking motors/actuators to the passenger doors on all Metros and Rover 100s are pretty crud, noisy and often fail. They can be easily replaced with superior ones from electronics stores such as Maplin. These are faster, very reliable and make a satisfying noise when operated unlike the originals.
67Difficulty5Tools required7Time required5Price
Many Metro's & rover 100's have Remote central locking so its worth replace dead or noisy motors with these to repair this function. They cost around £5 to £10 each or can be purchased in a set.
Please note, for Mk2 and Mk3 Metro 3 door models, the maplin motors are a direct swap for the factory motors using the factor connecting rod and all you need to do is change the wiring connector as shown in this guide. The factory fit boot lid motor is totally different and I have never known one fail.
The following guide shows how to fit Maplin actuator to the front doors on a Mk4 Rover 100. The motors were moved on the Mk4. This is due to side impact bars being fitted where the motors are in previous older models. The rear doors on all 5 door models are unaffected and a 2 wire actuator is a straight swap with no bracket modification required. Only the wiring connector to fit.
Parts required
- Maplin's central locking actuator kits (A 5-wire and a 2 wire)
- Cross head/Phillips screwdriver
- Narrow nose pliers (or a vice)
- Regular chunky pliers
- 10mm spanner/ratchet
- Junior Hacksaw
- Metal file
- Knife
- 7 red female bullet connectors or a soldering iron
(if you're using connectors, you'll also need crimps) - Electrical tape or heat shrink
- Duck tape
- About 4 hours (includes door furniture removal and fettling the position of the new motors- See below, and then tidying up
Right, as we all know, the standard central locking motors are awful, and in general they will fail.
Removing old motors
- Remove your door furniture and door cards (we'll assume you can do this without hurting yourself, the bolt for the window winder is an 8mm BTW)
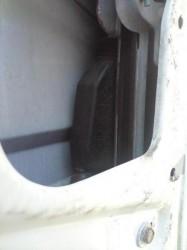
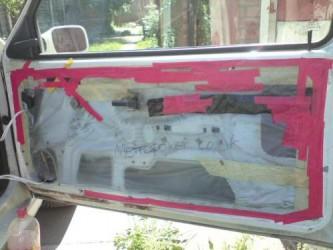
- Peel back the plastic from the B-pillar edge, TRY not to rip it, you'll just spend longer fixing it later. You should now be able to see the offending item. Here is one insitu, note the runner for the glass, and the 10mm bolt below it.
- Remove the bolt and remove the runner. Give the runner a wipe clean while its out. Also pay attention to how the clip at the top of the actuator's rod is situated, this will be needed later.

- On the side of the door there are 2 crosshead screws, remove them and put them somewhere safe.

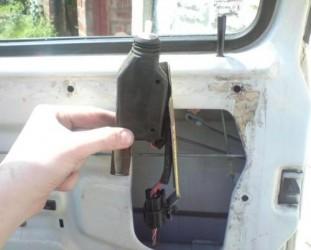
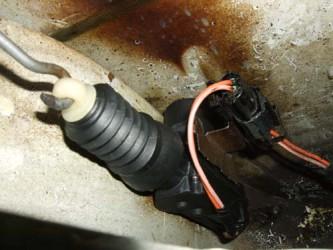
- The old actuators mounting bracket should now be free. Disconnect the loom plug and unclip it from the white plastic lock mechanisms. (Keep hold of the metal clip, the one that's bent in all crazy angles, you need this later) Here it is in all its failed glory (I've removed my clip for safe keeping)

- Remove the actuator from the bracket, keep the screws and the bracket, and put the actuator to one side for now, we'll get to that in a minute.
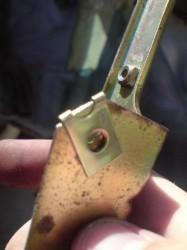
- Take the bracket, and file down the corner as shown below

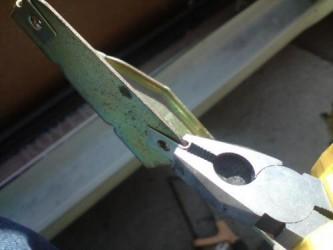
- Next take one of the obscure little brassy clips that come in your Actuator kit, pop it on the corner that you have just filed down. If the holes on the clip and on the bracket don't QUITE line up, use your pliers to crimp the clip flatter.

- If the holes STILL dont line up, then you better get filing again! When you've got it, it should look like this

- Then pop the other brassy clip over the other hole.
- Next take the brassy flat bar that came in the actuator kit, and cut it into 2 sections, each one 2 holes long.
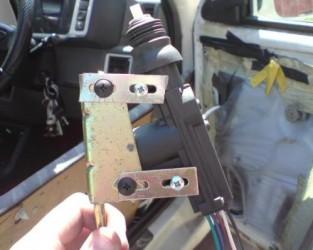
- Then using the screws you kept hold of from earlier (the ones that used to hold the actuator onto the bracket), fasten your flat bar sections to the bracket like so (not too tight just yet)

On the reverse side of the bottom screw in the pic, you have to cut 3 or 4 thread off to allow clearance for the Maplin actuator's motor. - Next, using the screws in the actuator kit, afix the new actuator to your bracket like so:

Wiring
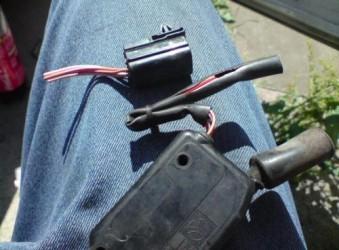
- Take the old actuator and strip back the loom cover to free up some wire length for working with, cut the plug off with your pliers, and bin the old actuator

- Attach your female bullet connectors to the wires on your plug like so, or solder your wires to the plug if you prefer.

- The wiring for the actuators is as follows:
| Driver side motor | |
| Pink / Purple | White |
| Purple | Green |
| Orange | Blue |
| Orange / Purple | Brown |
| Black | Black |
| Passenger side motor | |
| Pink | Green |
| Orange | Blue |
I pre-labeled my Maplins wires to make things easy when I was outside.
Once this is done, you should be able to assemble something which resembles this.
Now at this stage its worth checking your wiring. The easiest way of doing so is to connect the actuators loom plug, press your 'door is shut' sensor switch at the vertical section of the A-pillar and press your fob. If it works, proceed, if not, re-trace your steps.
Fitting the acutators
If it works, you now face the fiddly bit... finding the right angle for the actuator.
- Remember the metal clip, the one that's bent in all crazy angles, well you need this now.
- With your wires connected up, refit the clip to the actuator and to the plastic clip in the mechanics of the lock (as mentioned earlier)
then re-fit the bracket. - Making sure the actuator rod isn't bent, tighten the bracket down, close your door, and hit the fob.
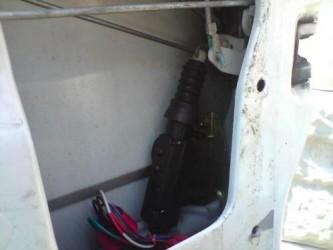
- If it works, you're pretty much done. Here's mine in situ.


- If its not working right, remove the actuator and bracket, fettle the angles some more until you get it right.
- After you've re-inserted the glass runner and the bolt, check that your wiring does not foul your glass by winding your window down then up again. When you're happy, with it, tape up your plastic sheeting and repair all rips and tears (I had no duck tape in, so had to use electrical tape, but duck tape is the stuff for the job really.)

Now you have no excuse. They're quieter than standard ones and are stronger. What are you waiting for???
Hope you all find this useful :)
Guide submitted by Jeckluz

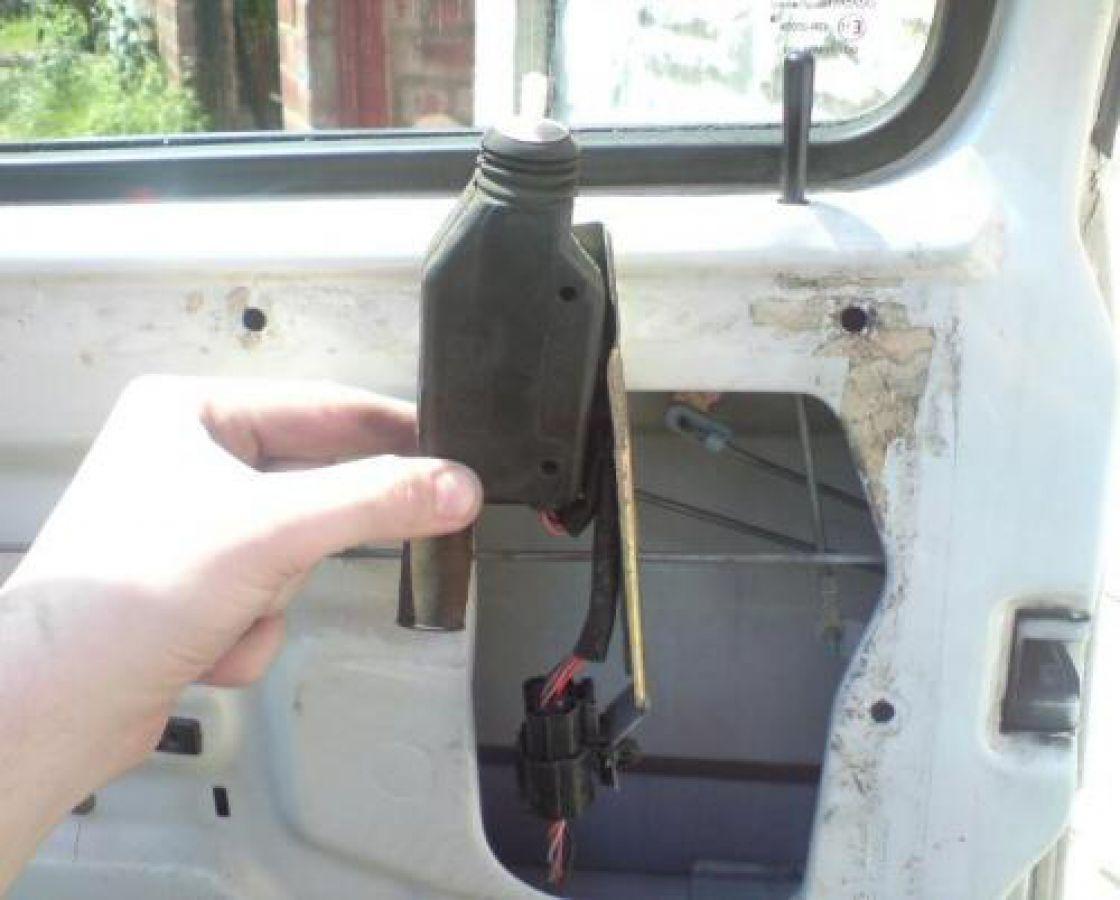
Below are additional pictures showing Maplin central locking motors fitted to a Metro 3 door with out side impact bars. They are a direct swap apart from the wiring for the standard Metro items.


