- I.C.E. (in car entertainment)
- Be the first to comment!
- Read 7488 times
Head unit upgrade
Rover Metro's and Rover 100's came with a Phillips radio cassette as standard, upgrade the stereo (also known as the head unit) in your car to get new features such as iPod connectivity, DAB radio or even satnav. This guide is for all Mk2, MK3 and MK4 cars.
55Difficulty5Tools required5Time required6Price
Parts required
- Head unit
- Wiring harness
- Head unit removal keys
- Flat head screw driver
- Complete head unit packaged with correct wiring harnesses.
Some wiring harnesses in the car may have been bodged in the past and the wires cut, if so consult a professional.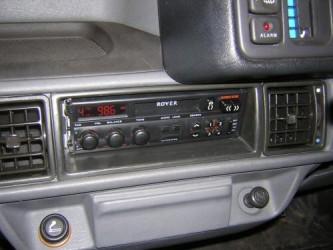
Fitting steps
- Either side of the standard Metro head units are two holes. These are for the removal keys that look like this.

- Push these in until they click and slowly pull the radio out
- Next is to disconnect the power supply and aerial. The Yellow arrows indicator the tabs to push in to allow the orange and grey connectors to be pulled out of the Rover head unit. This is referred to as an 'ISO' connector and is the industry standard which is featured in a vast amount of different makes and models The black cable is for the aerial. It's quite fragile so pull it out as near the head unit case as possible to avoid snapping.

- Older Metro's feature a 'DIN' connector pictured below which was industry standard till around 1993 United Kingdom K reg so pre K reg will have this connector and K registered cars could have either depending if it was an early or late K reg, If you have a DIN connector you can buy a DIN to ISO converter wiring harness to take modern head units. Note, all Mk2 have this connector. All Mk4 R100's and Mk3 with standard Rover alarms have ISO.

- Below is a picture of the DIN to ISO wiring harness for earlier Metro's. The DIN end is to the left of the picture, ISO to right.

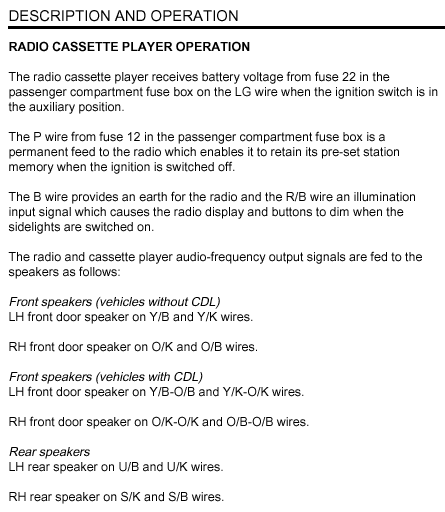
For reference please see the tables below:

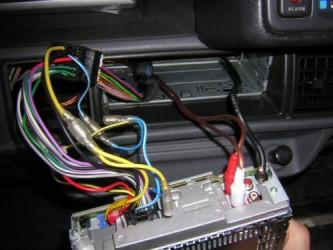
- The next step is to fit the 'wiring harness' to the Metro ISO connector. Here you can see a black connector connected to the orange a grey Metro ISO. At the other end of the wiring harness is a smaller connector. The red and white connectors are 'Phono Leads' which go to an amp. These can be ignored.
- Also some different head units come with different 'cages' the Rover one will need to be removed by lifting up the tabs with a flat head screw driver and replacing the provided cage and push the tabs back out. The picture below shows the wiring harness connected to the Metro loom.

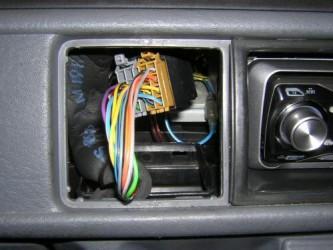
- The picture below shows the connectors fitted and ready for refitment.

- With the wiring harness fitted its difficult to slide the head unit back in place with the extra wires. If this is a problem remove the LH vent and put the wires to side of the head unit as pictured.

- When sliding the head unit back into position make sure no wires are caught on the highlighted red line. Also make sure the cage is level with the cross member inside. If not lift the back of the head unit above the cross member and it will continue to slide back and fit correctly. Then clip on the surround.

- Finish, head unit read for testing and listen to you favourite tunes.

Remember a new head can make a thief's day. Remember to remove the face off and maybe fit an alarm if your Metro doesn't have one as standard. Head unit featured Pioneer DEH-P6700MP
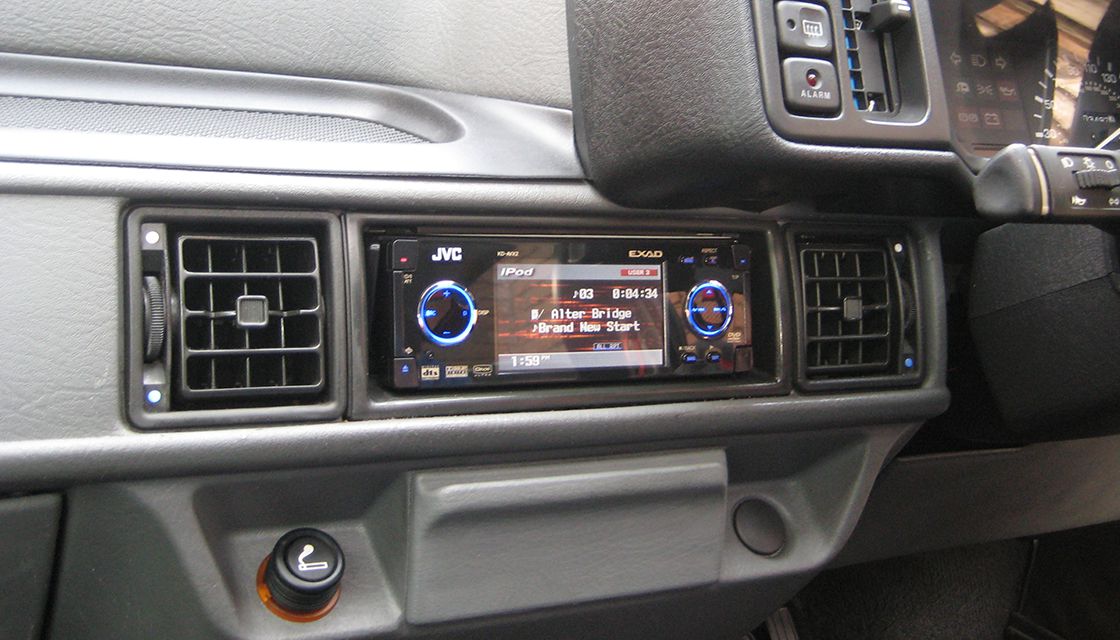
The Head unit below is a DVD player which allows movies to be played when the hand brake is on. So depending on budget the possibilities are endless! Model shown JVC KDAVX2


