- Exterior & styling
- Be the first to comment!
- Read 4436 times
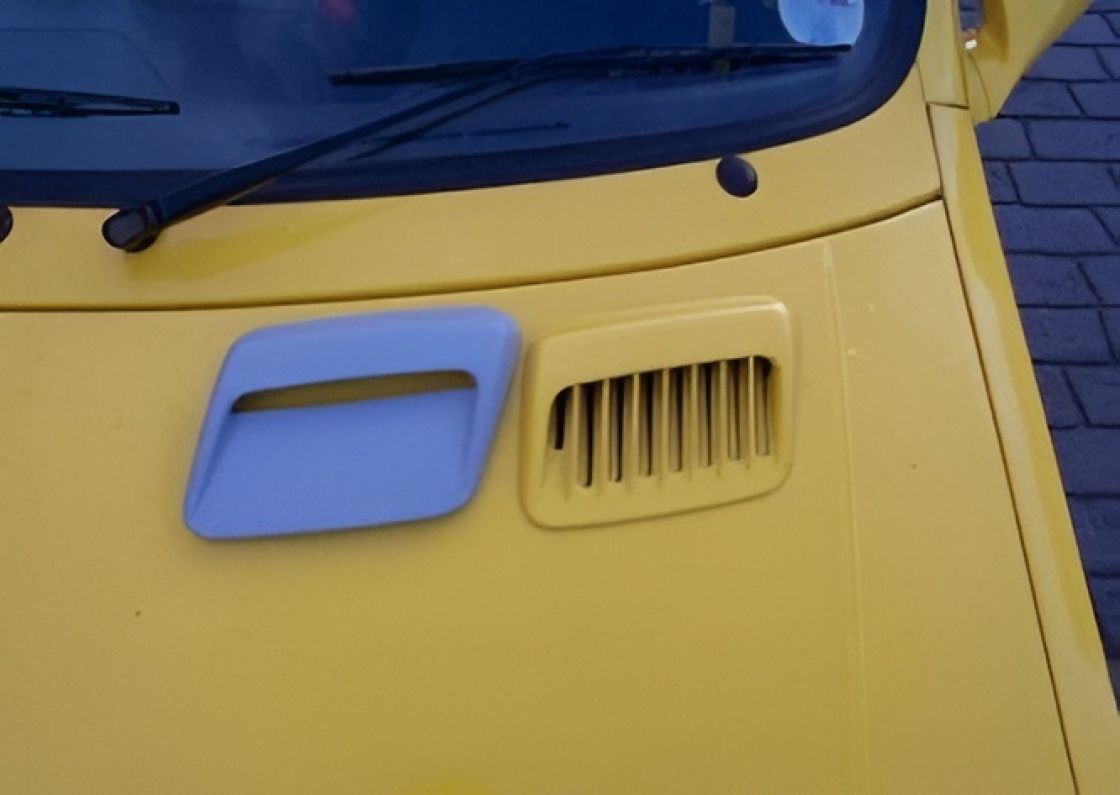
Smoother bonnet vents
To start making these smooth vents just follow the simple steps below
Parts required
- a pair of mk3 metro bonnet vents
- a junior hacksaw
- some coarse and some wet and dry sanding paper,
- a piece of hard board
- some body filler, P38 and P40
- gaffer or masking tape
- spray paint (plastic primer, colour and lacquer)
Fitting steps
- Get your mk3 metro bonnet vents and with the junior hacksaw blade cut out the existing slats that are in the vent down to the little hooks that are on the underside of the vent so you can still hook them onto the bonnet.

- After cutting the majority of the slats off, sand down the little bits sticking up that are over the underside hooks and the little bits remaining on the underside of the top edge of the vent.
- Get your tape (gaffer or masking) and on the underside of the vent put some strips on it to hold the filler in place and to help shape the vent.
- Get your hardboard and mark out on it where the hooks and the screws on the underside of the vent are and cut some holes out so you can fix the vent onto the board. This will allow the vent to have a flat underside so they will still look good when you lift the bonnet and so any one with a mk1 or mk2 metro can still fit them.
- Once the vent is fixed onto the board start to build up the flat base using some P40 filler (fibreglass filler) to the same level of the lower part of the vent.

- After the P40 has dried go over it with some P38 (normal body filler) to fill the little spaces left behind from the P40 and to allow you to have a smoother overall finish.
- Sand down the filled area to a smooth surface and then with some wet and dry sanding paper, go over the rest of the vent.
- Clean off any remaining dust and if need be touch up areas that you think are not smooth or level.
- After that, spray the whole vent in plastic primer with a few coats and once dry give it another gentle sanding in wet and dry ready for painting.

- Spray the vent with the colour of your choice with a few good coats and then give it a few coats of lacquer to give it a nice deep shine to finish it off and then fit them to the bonnet.
So there you have it, from a standard boring looking bonnet, to a mean looking one with just the aid of some smooth cool looking bonnet vents that you have made yourself proud by making them yourself in a single morning or afternoon.


